Photography is an enormous field and there are many good photography tips. In fact, these are also related to the different photography sections. This article is about my best 36 general tips for beginners and more advanced photographers.
In the 30 years that I have been taking pictures, I have gained a lot of experience as a photographer. I have tried many things and have always optimized my workflow to become faster and better. To get a better overview of the tips, I have divided them into the following categories:
- Mindset
- Photo Equipment
- Image Composition
- Archiving and Backup
- Photo Management
- Image Editing
- Photo Montage
- Presentation and Publication
In photography, it’s a bit like martial art: you need at least 10 years of intense training to finally reach a black belt, and when you think you’ve reached the end goal, you’ll realize that it’s just getting started.
A black belt in karate (I am working on this myself), means that you have only completed the basic training. With this award begins the proper training and the correct understanding of this art.
It is similar to photography! Only after a few years do you realize how little you know about it. Practice and experience make all the difference.
Mindset photography tips
1. Anyone can take good photos, even without expensive equipment
Good photos do not necessarily require expensive and professional photo equipment. Depending on the situation, a large professional camera may even have disadvantages.
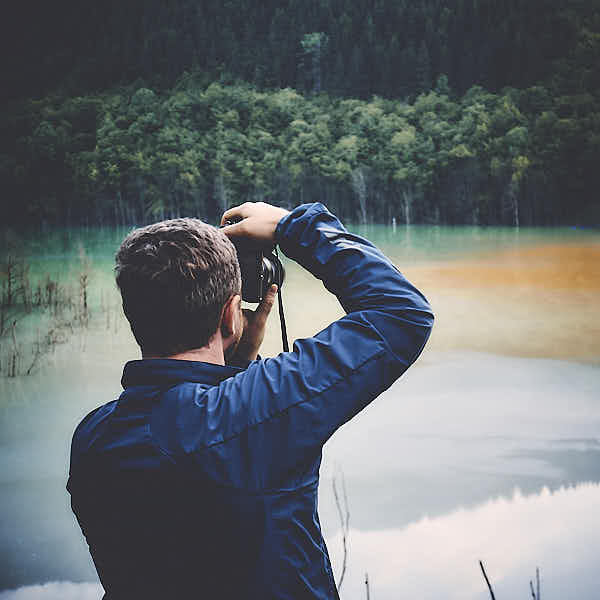
Especially street photography or outdoor photography require rather small, inconspicuous, and light photo equipment.
But even otherwise, the most important ingredients for good photos are a proper composition, a good light, and a special subject or a cool scene.
More expensive equipment helps to get technically better photos, of course, but I see this as more of a supplement. The main ingredients are more important.
In the beginning, I can advise you to start with a good and cheap camera. You can then add more at any time.
2. Photography keeps you in shape physically and mentally
If you’re just starting out in photography, you’re basically training your brain and your body. It depends, of course, on which field of photography you are entering, but as a rule, you are often on the road and have a lot to learn, test, and try out.
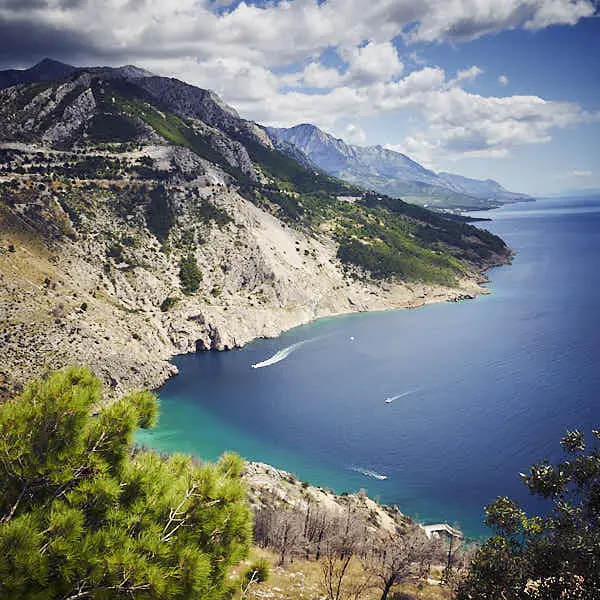
Especially in nature, landscape, travel, wildlife, and architecture photography, you’ll have to walk a lot. This also applies to street and sports photography and much more.
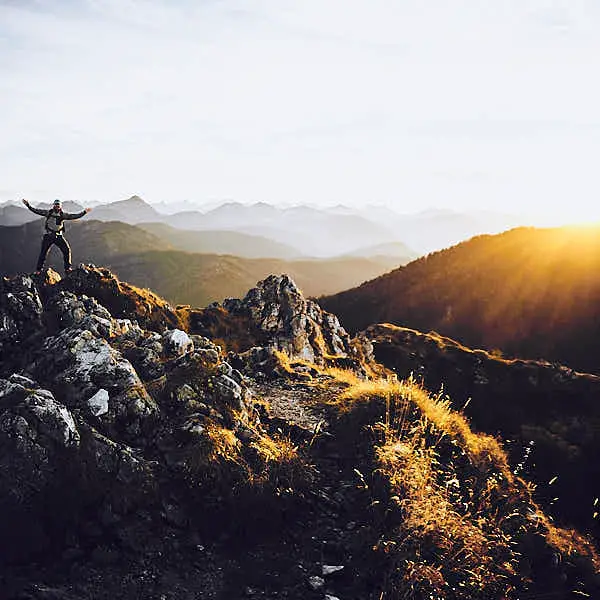
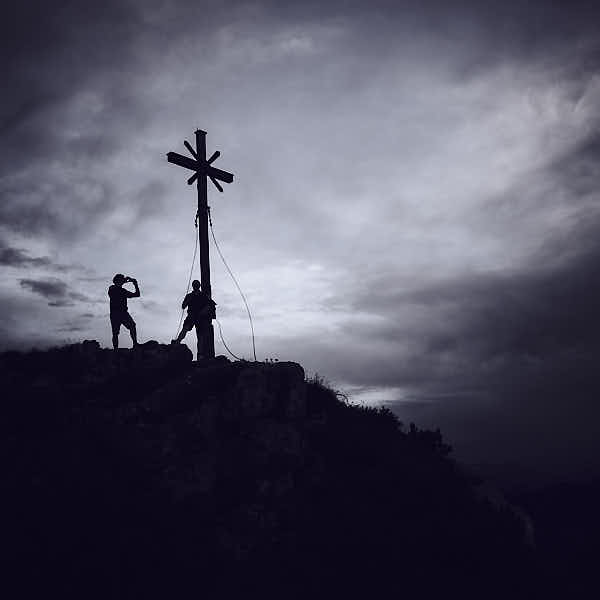
One of my reasons for nature and travel photography is really forcing myself to get out, travel, hike, or bike as well.
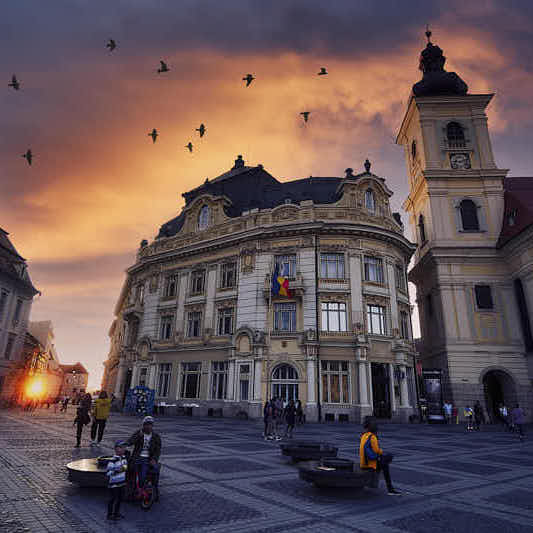
One of the most beautiful moments for me is arriving on a mountain top exactly at sunset. I am then physically and mentally rewarded for it.
Mentally, photography keeps you in shape by challenging you artistically, but at the same time allowing you to switch off and relax.
3. Be inspired by other photographers
One of my favorite things to do when I want to relax is to look at other photographers’ work. It inspires and motivates me at the same time.
There are tons of photos and photo ideas that are really cool: from classic and famous photographers to current modern photographers.
There are plenty of platforms where you can find inspiration, including Instagram, 500px, Pinterest, EyeEm, Flickr, ..: Instagram, 500px, Pinterest, EyeEm, Flickr, …
Here are some of my inspiration examples:
https://www.instagram.com/p/CA5jxtNCSjX/ https://www.instagram.com/p/CAuQEojjZ1o/ https://www.instagram.com/p/CAYQSPlhBs7/ https://www.instagram.com/p/B-5MF9IDFuP/ https://www.instagram.com/p/B_um5e0ni0p/ https://www.instagram.com/p/B4iZ0NqgwPZ/ https://www.instagram.com/p/CAlCAqygpwo/ https://www.instagram.com/p/B9gvNLRnakE/
4. Anyone can earn money with photos
To make money with photos, you need a platform where as many interested people as possible come by and become aware of your images/products. Second, of course, you need something you can sell.
These can be digital or printed photos in the form of wall pictures, calendars, or other photo products, but they can also be products from your image editing processes such as software, styles, presets, or even just recommendations for photo software that you like to use yourself.
Of course, you can offer photo sessions, photo courses, or even support as a service.
You can also earn money by advertising for products or with advertising on a blog, and almost passively. This does not necessarily have to be a photography blog, because photos are necessary for any website.
For some time now I’ve been working on a course “How you can make money with photos”. Here you can find more information about it!
Photography tips about photo equipment
5. A small camera has many advantages

Those who have to choose a new camera, face a problem and often can not decide. The choice of a photo camera is big and therefore important because it dictates many things: Lenses, accessories, …
However, the choice of the camera also depends on the area of photography you want to pursue. Especially if you plan to take photos while traveling, touring, or outdoors, you should buy a small camera (for example, a mirrorless camera).
Mirrorless cameras have the great advantage to be small, having small lenses, and also small accessories like tripod, flash, bags … etc. That helps mainly if you are often on the road. Besides, they also have good digital viewfinders.
Even though a small camera may have a smaller sensor, it’s more comfortable to carry and you’ll use it more often, especially in the beginning. In this current time, carrying a camera in addition to a smartphone is no longer something obvious.
The Sony Alpha A6400, for example, is small and fine, so you’ll have it with you more often than a large SLR.
You can find more camera recommendations here!
6. Lenses are more important than the camera
Even if it’s not that relevant in the beginning, over time you’ll realize that actually, the lenses are more important than the camera. That doesn’t mean you have to take the cheapest camera.
When choosing a camera, be sure to analyze and consider the lens selection. A good zoom lens such as a 17-70 mm F2.8, a good 50 mm F 1.8 or F1.4, a good telephoto zoom is very important over time.
Of course, again, it depends on what area of photography you’d rather focus on. For example, a good portrait lens, a macro lens, or a fast wide-angle lens might be important for architecture.
For the Sony Alpha system cameras, for example, there was only a limited lens selection for years. In the meantime, it has become quite respectable and can be recommended very well.
Especially the new Tamron 17-70 mm F2,8 and the Tamron 70-180 mm F2.8 have significantly improved the selection.
You can find more lens recommendations here!
7. Buy a better zoom lens instead of the kit lens
Most kit lenses are not made for medium or long-term enjoyment. They are often not as well-made, have poorer optics, and have few features.
Sure, the price isn’t very high and they are designed to get you started in photography on a budget. But if you’re serious about photography, I’d advise you to invest in a decent zoom lens right at the beginning.
You not only save the money for the kit lens but also the later trouble about the quality of your photos or the lens.
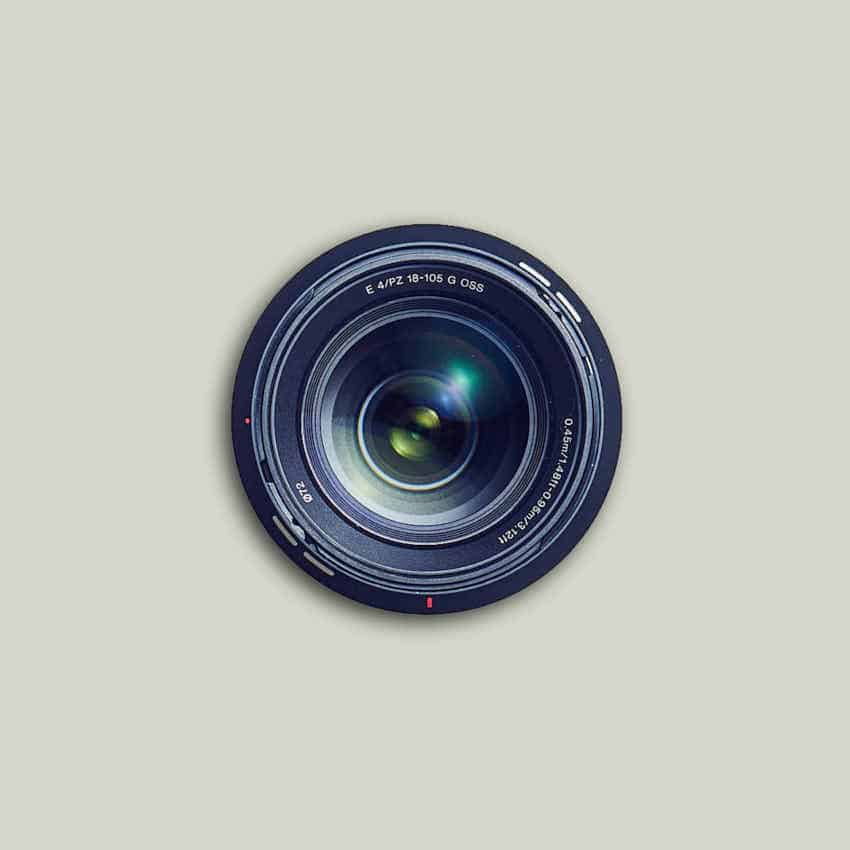
For a Sony Alpha APS-C camera, I recommend the Sony SEL18105G. It is relatively fast, covers a high focal length and the quality is very good.
If you want to pay a little more, you can buy a 17-70 mm F2.8 lens. This is now available for most cameras and works relatively well even in difficult lighting conditions.
You can find more lens recommendations here!
8. Buy your lenses one by one, take your time with each one
When you’re building new photography equipment or adding to your existing one, you should always buy your lenses one by one.
Always take some time before you buy a new lens so that you can fully understand it. Each lens has its own characteristics, and you should figure them out at the beginning if possible.
The better and more intensively you get to know a lens, the faster you will be able to take better photos with it. Think about it and make a list of the lenses you want to buy. The order in which you want to buy them is also important.
I can give you the following tips: Start with a better zoom instead of a kit lens. After that, you can buy a fast fixed focal length.
A 50 mm F1.8is great if you want to take normal photos and portraits. Alternatively, you can buy a fast wide-angle lens. Then a telephoto zoom, a macro lens, or an ultra-wide angle for architecture and landscape.
You can find more lens recommendations here!
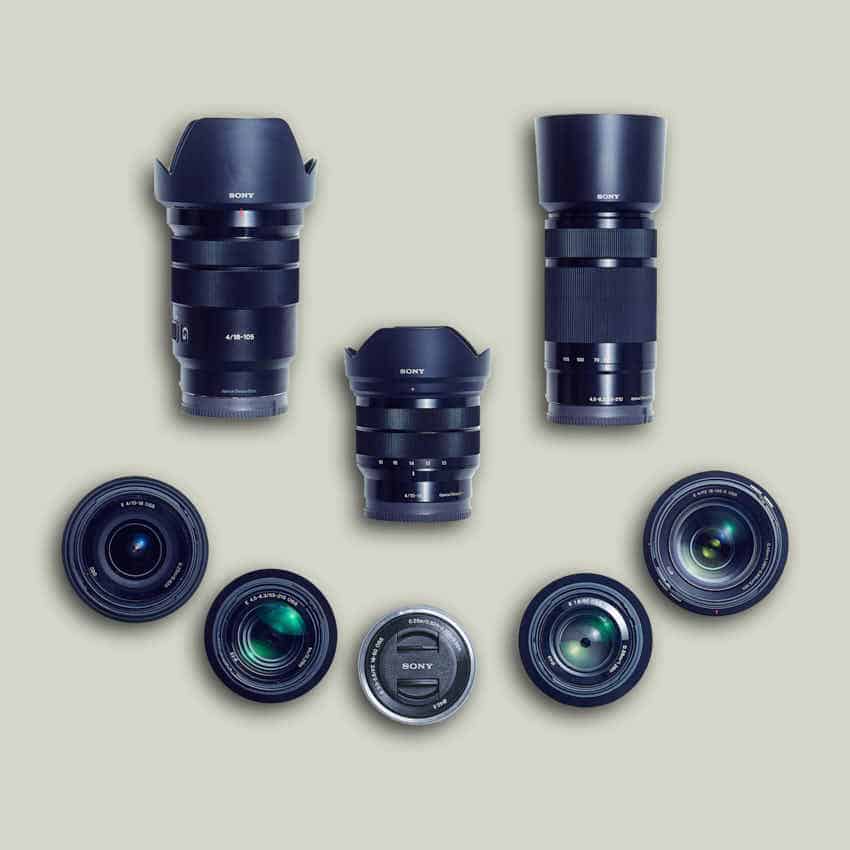
9. Mix zoom lenses with fixed focal lengths
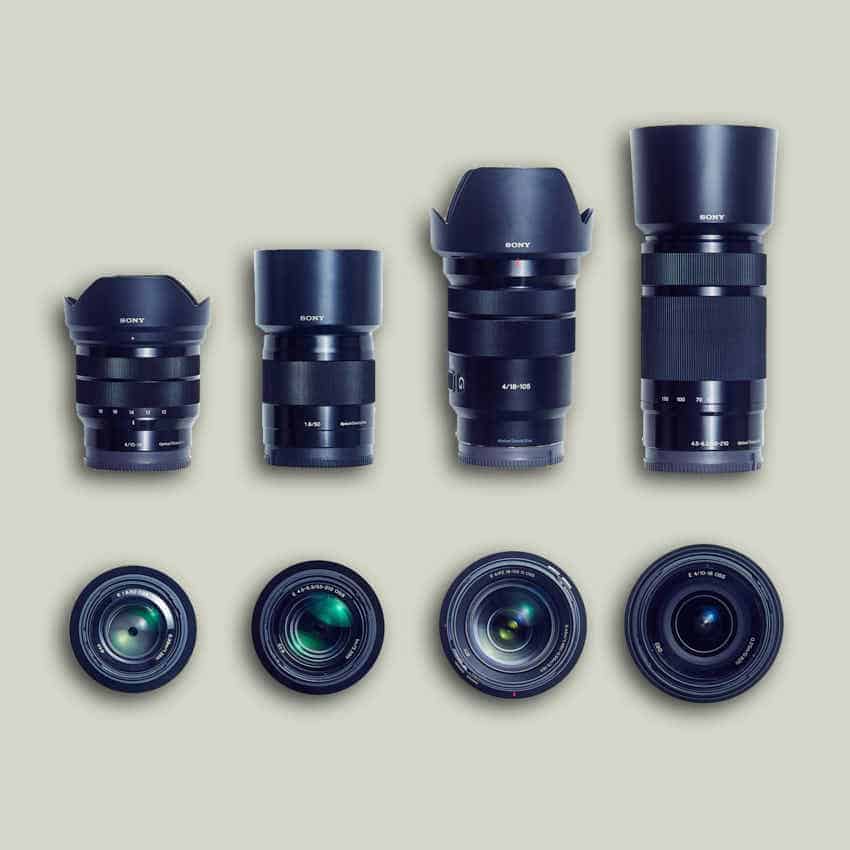
Zoom lenses and fixed focal lengths have advantages and disadvantages and are complementary in most areas. Both have their justification for being and are suitable differently for different areas of photography.
Zoom lenses are ideal for traveling or touring. They are very flexible due to the changeable focal length and reduce lens changes. Especially in dusty or wet environments, this is a big advantage.
In comparison, fixed focal length lenses are more qualitative than zoom lenses and are often used for portraits and products. Fixed focal lenses are fast and are often used in difficult lighting conditions.
Mix your lenses so that you can best cover your needs. For example a good zoom lens for traveling, a good fixed focal length for landscapes in the blue hours, or a good wide-angle for astrophotography.
You can find more lens recommendations here!
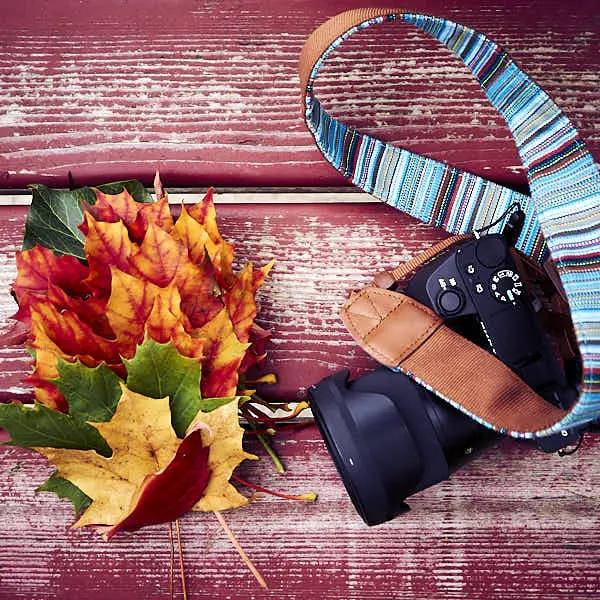
10. Use accessories consciously, because too much technology is a distraction
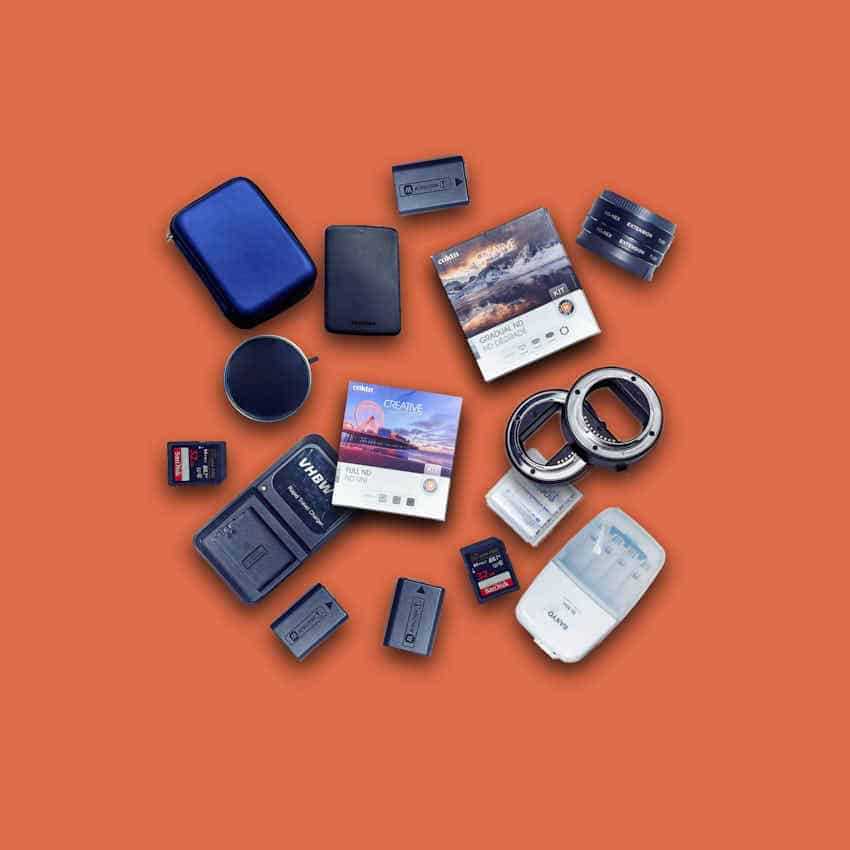
Accessories are important, but not every accessory makes sense. Some are absolutely necessary, others are really just “nice to have”. Many accessories can also be distracting. The most important photo accessories:
Spare batteries and charger: especially if you buy a small camera like the Alpha 6xxx series, you will only have one battery and no extra charger with you.
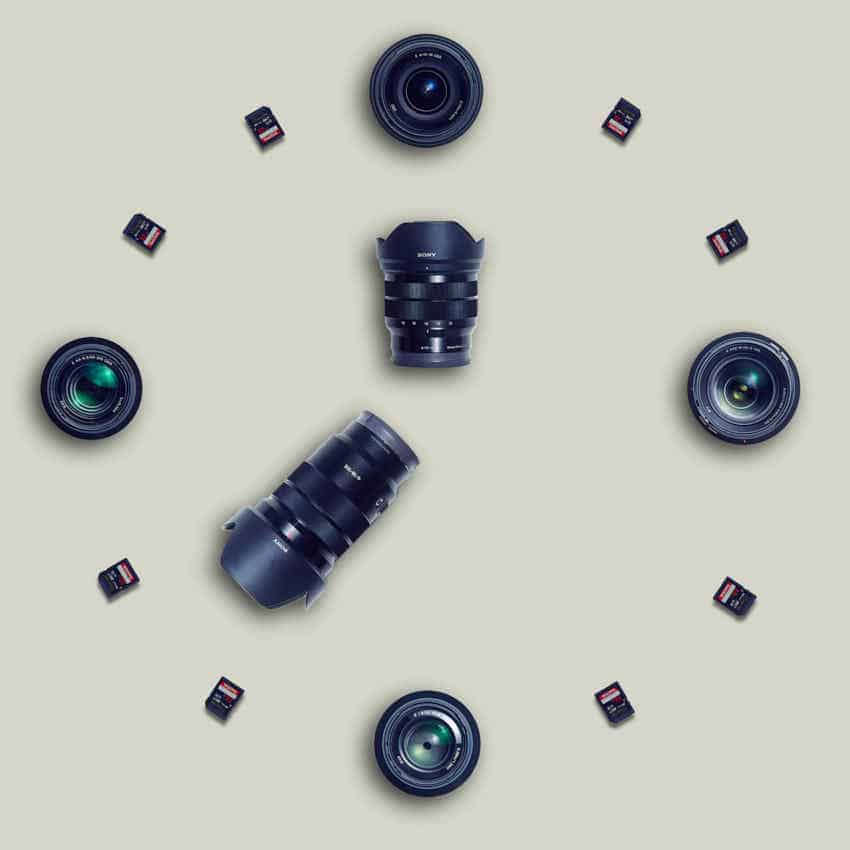
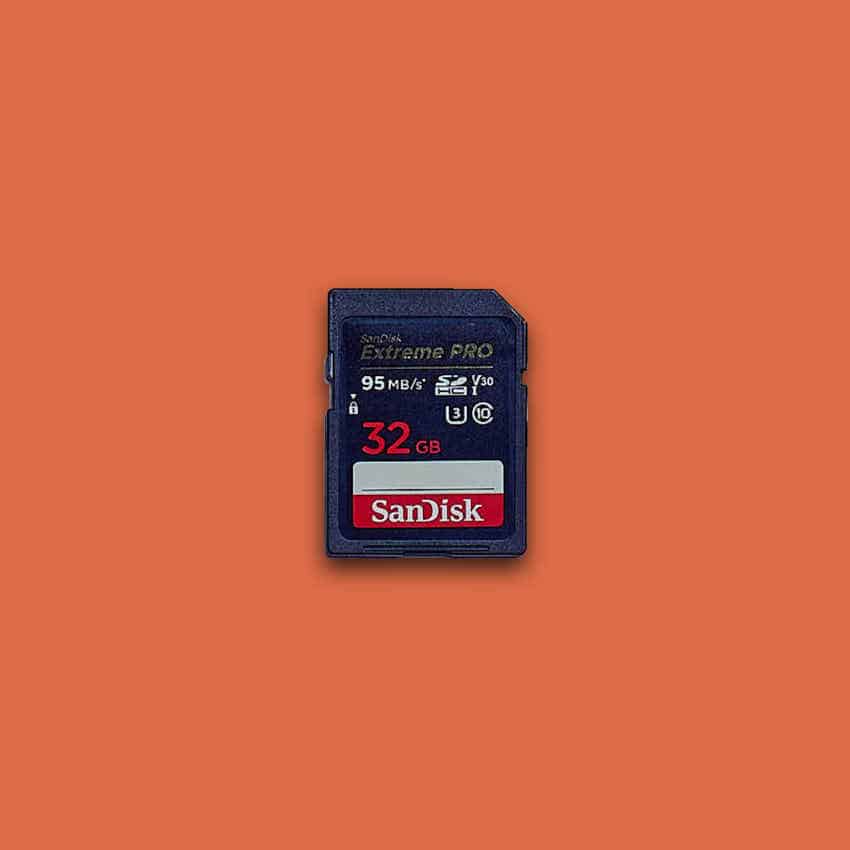
SD cards: these shouldn’t be too big, so you’ll be forced to import and archive them more often. 64 GB is perfect
Photo bag: A photo bag is important because it protects the camera and lenses. A camera bag should be waterproof and able to hold your camera + at least one other lens.
Photo backpack: is important when touring or traveling. I am a fan of the Mindshift Rotation 180°
Tripod: is important for landscapes and long exposure photography. The smaller the camera, the smaller the tripod.
You can find more accessory recommendations here!
Image Composition
11. Add a foreground subject and increase the tension
Foreground subjects are often neglected, yet they can really turn a good photo into a perfect photo. It’s all about adding foreground motive, especially in landscape photos, architectural photos, but also portraits.
This can be a railing, a tree, branches, or anything else. A foreground subject can also be selected so that it can direct the focus to the main subject.
A frame such as a bridge, a tunnel, or simply trees and branches lead the viewer’s eye to the actual action in the picture.
Foreground subjects can also take on the function of a leading line. A road or a line structure on the ground leading to the subject can be very helpful.
12. Create a blurred background and foreground

How you can create a blurred background, I explain quite detailed in this article. If you combine it with a blurred foreground, then the effect of cropping is even greater.
Try this for portraits by holding a green branch or colorful flower directly in front of the lens so that it is clearly visible, but does not cover important areas of the image.
If you set a large aperture for this (small f-stop), then both the foreground and the background will be out of focus.
This way you reduce the photo to the essentials and the viewer can concentrate on the most important things. At the same time, the image does not look overloaded.
13. Try to find symmetrical compositions
To make symmetrical pictures, you have to forget the rule of thirds, the golden ratio, and the golden spiral for a moment. The point here is that you shoot a subject in the center and both sides (left-right, top-bottom) are the same.
Symmetries can be created by using the same dimensions, the same colors, and the same themes. They complement your photography portfolio and offer a nice diversion.
Personally, I like symmetrical images very much and try to create them as often as possible. I find that symmetrical images, build a beautiful balance, calm, and stability.
Symmetries you can find everywhere, my most popular motives are Buildings, architectures, landscapes, portraits, and abstract images. You can find symmetries on the horizontal, on the vertical, or even on both planes.
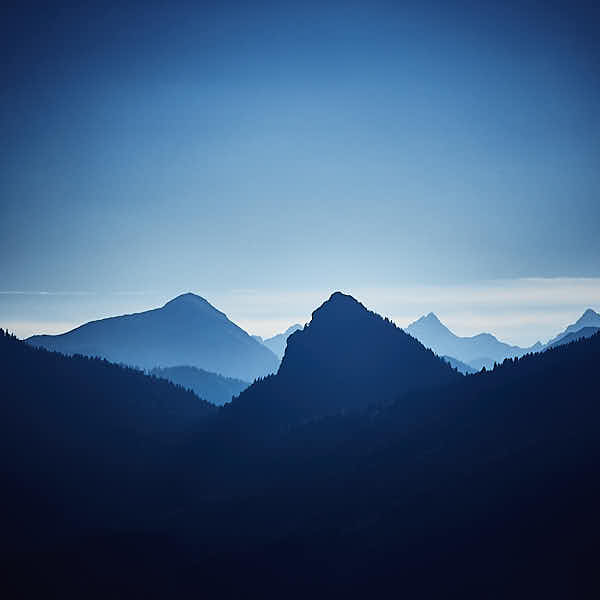
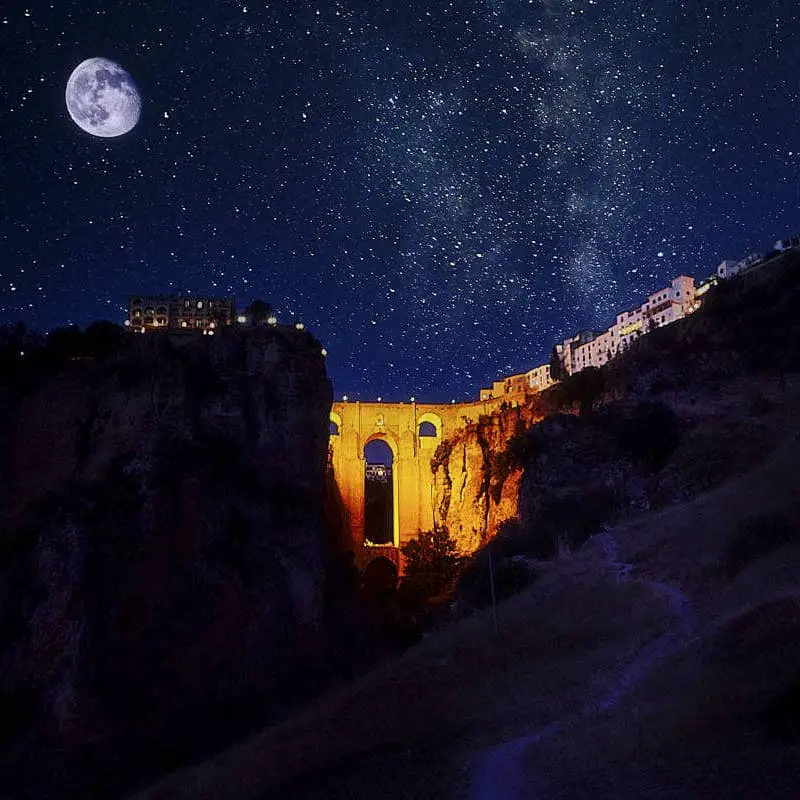
14. The portrait format in landscape photography
An old rule says that portrait format suits portraits and landscape format suits landscapes. But sometimes rules are there to be broken, and this is one of them.
Because a portrait format can sometimes be much more exciting in landscape photography than the landscape format. The portrait format can simulate 3D effects in the 2D photo.
A mountain range that stretches into the depths looks better as a portrait image by enhancing the depth. If you add contrast, you can make a photo look almost three-dimensional.
The portrait format is also very suitable for astrophotography, for example, when the Milky Way is vertical. This way, you can capture the essence without leaving areas in the image “empty”.
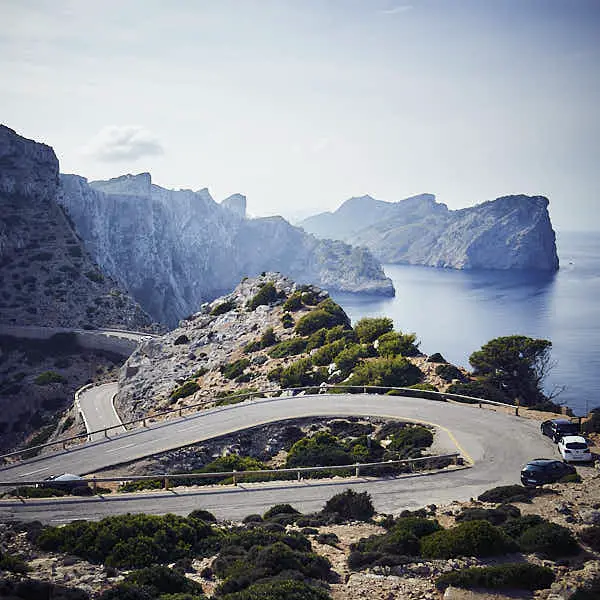
15. Find and show dimensions
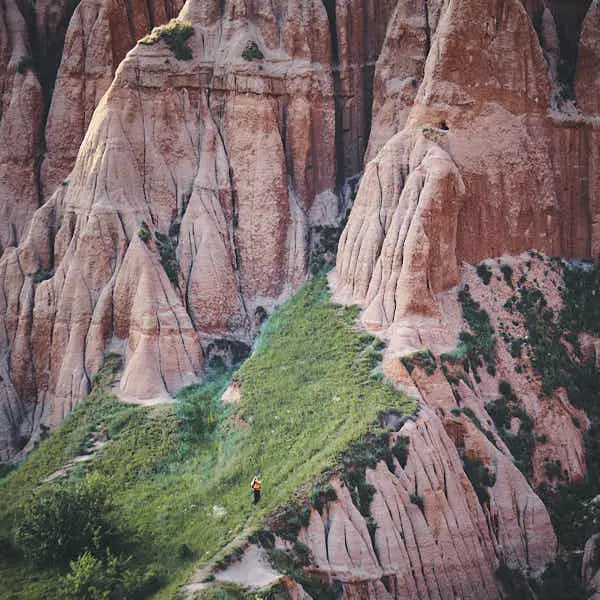
Dimensions appear where you compare or contrast them with something you already know. In this way, you can get a feeling for the actual size of certain ranges.
You may remember that with a wide-angle lens, the background always seems small and insignificant. At a higher focal length, such as with a telephoto lens, you get exactly the opposite effect.
When a person is shot in front of a rock face, mountain, or building with a telephoto lens, the background appears very large and dominant.
Try it out yourself on your next mountain, hiking, or climbing tour. Alternatively, you can also try it with buildings or other objects in the background.
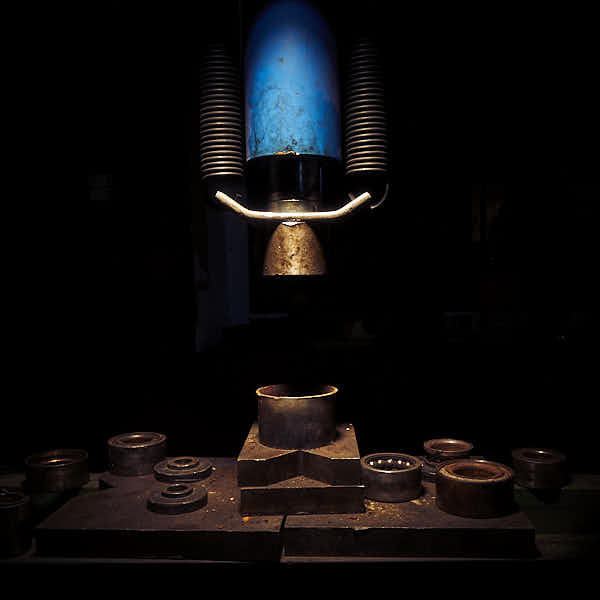
16. Use the 90° down perspective

The 90° down perspective is one of my favorite perspectives because it’s so unusual. Perspectives that are not commonplace are exciting. The 90° down perspective is one that was very rare until a few years ago.
That has changed drastically with drones, which are becoming more affordable and professional. But they are still the exception.
As a result, drones are a great asset in photography and give many photographers the opportunity to create unique and extraordinary photos.
But it doesn’t always have to be a drone to get this perspective. A tall tower can create a similar effect. Of course, you are more restricted in terms of location compared to drones, but it works.
Archiving and Backup
17. Give an external hard drive for your RAW images
RAW files are much better than JPG, I do not need to mention that. But RAW files also take up much more storage space. If you also shoot a lot of 4K videos in addition to your pictures, the integrated hard drive will no longer be sufficient at some point.
At this point, you need to expand your hard drive with a NAS system or an external hard drive. NAS systems are usually expensive and are recommended in offices where more than one person needs to access the data at the same time.
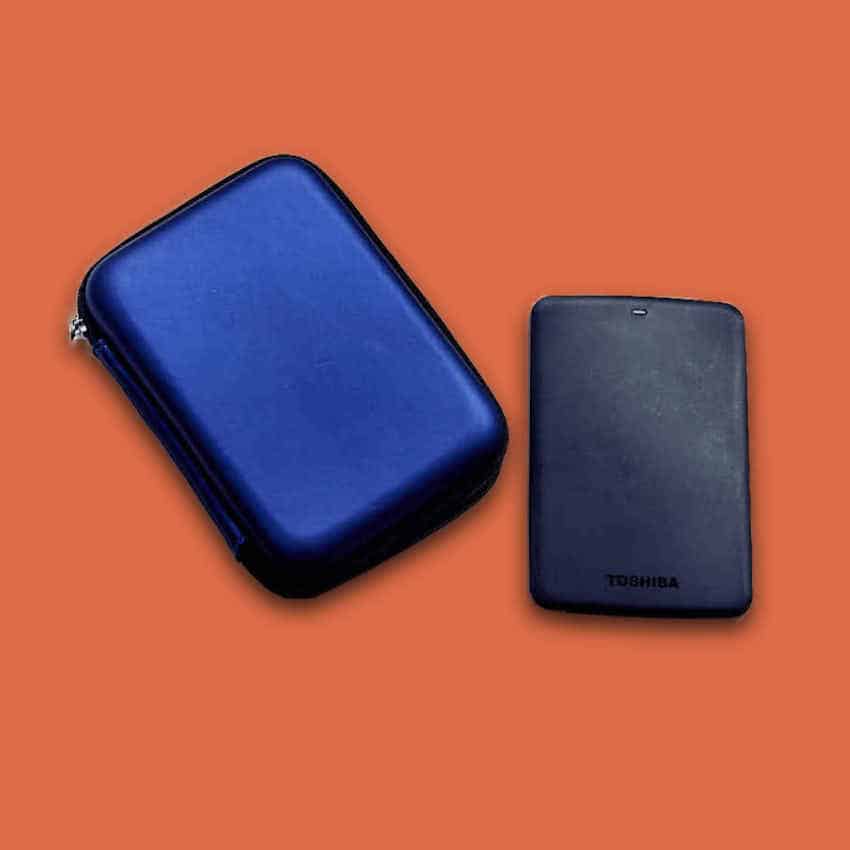
A good alternative is external hard drives, where you can choose between a large 3.5 inch hard drive with an external power supply for a stationary computer and a small 2.5 inch hard drive without an additional power cable for laptops.
For the first option, I use a Lacie professional D2 , which is intended for 24h x 7 days use and is significantly faster than comparable classic hard drives. For the mobile solution, I like the LaCie Rugged RAID Pro as a portable external hard drive.
18. Don’t give the data loss of your pictures a chance
A data backup is very important for personal pictures and videos and is highly recommended. If you have ever lost personal data, you know how painful that can be.
It is important to understand that data archiving on an external hard disk, is not a back-up solution.
A backup at least is another copy of the data which ideally is not actively used as data storage and is located in another fire zone.
This may be in a different building or as far away from the active data where, for example, a fire cannot destroy both copies.
As a backup I use a normal WD external hard drive, which I update about every second week (only the delta of the data) and store it in another building. It is important that this hard drive is not connected to prevent it from breaking.
19. A MAC computer is perfect for photographers
A Mac computer is recommended for photographers, designers, and other creative artists in many aspects.
The operating system simply recognizes many devices automatically, updates for the operating system are free of charge, many applications are already integrated and work very well.
The hardware, especially the screens, are also very good and really fun to use. You don’t really have to calibrate anything, you don’t have to worry much about viruses or costs for an OS update.
However, an Apple device is always associated with significantly higher costs and discourages. I can see that because a MAC is much more expensive to buy in comparison to other devices.
But if you take a long-term view and consider the value retention and significant savings in software, time, and frustration, you will notice that there is hardly any difference. In return, you will have years of fun with it.
20. Think twice if you want to buy an expensive NAS system
A NAS system is a Network Attached Storage and it manages a shared data storage in a network. It is therefore a data server within an office or company network.
The definition already hides the ideal place of use for NAS systems and the fact that they don’t make much sense for a workstation. As already mentioned, a good external hard drive would make more financial sense here.
Some people try to cover the access from TV, tablets, and other devices with a NAS system, which makes sense in theory. But to get reasonable performance, the entire network may have to be set up correctly.
Good cabling, a good router, the NAS system, and network security will cost a lot. If you can connect your computer to these devices, then you can cover your needs with a simple external hard drive.
Image Management
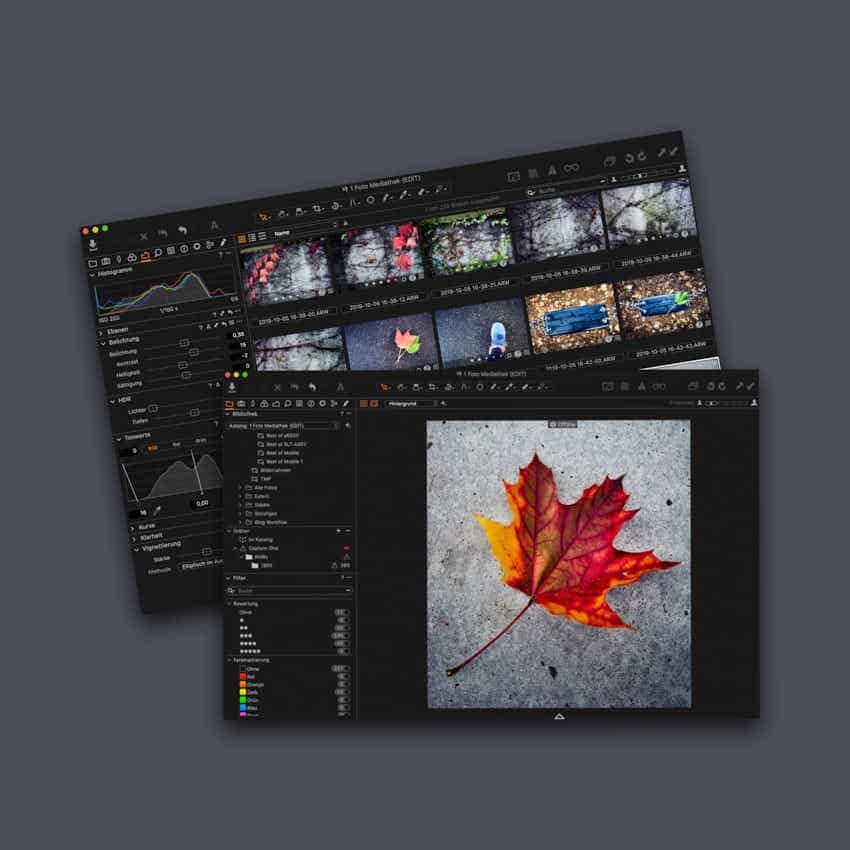
21. Do not neglect your image management
If there’s one thing I’ve learned recently, it’s that image management is extremely important for the proper organization of your photos. Especially if you shoot a lot, this work is indispensable.
You should do this with software that supports RAW development and image processing at the same time. This avoids interfaces and updates between the different tools.
Besides ratings, color markers and a good overview features like: Filters, smart albums, keywording and virtual copies are very important. There are two very good tools that I recommend: Capture One and Adobe Lightroom
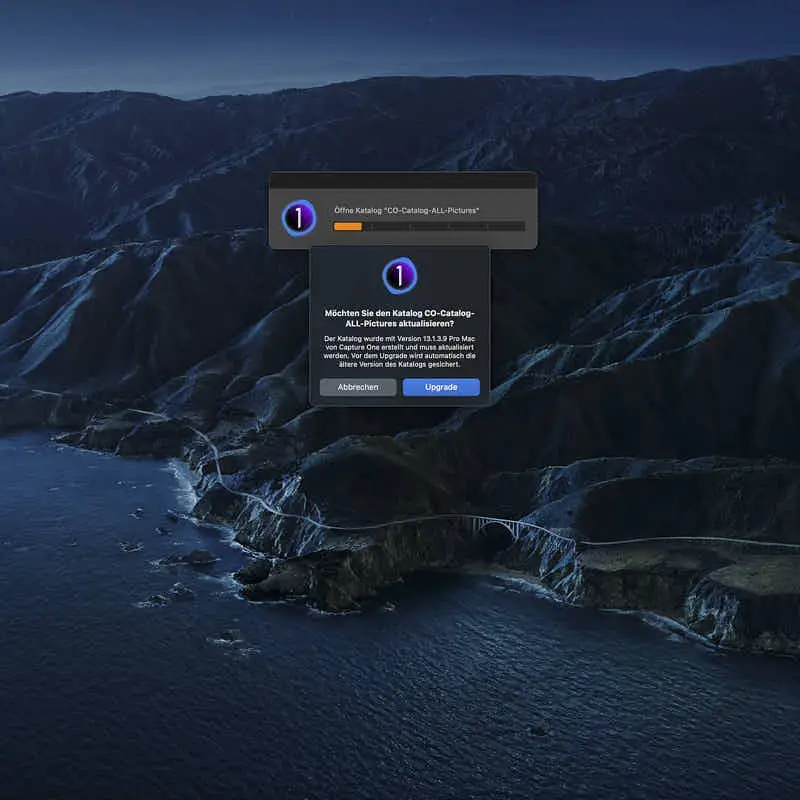
Capture One is, if you want it, the Mercedes in image editing, a bit expensive but very professional and more and more popular, not only by professional photographers. Adobe Lightroom, on the other hand, is a good compromise between cost and performance.
The only thing that keeps me away from Lightroom in the meantime is the subscription licensing model where I get “forever dependent”. Capture One, instead, can be purchased and also offers cheaper versions for Sony, Fuji and Nikon.
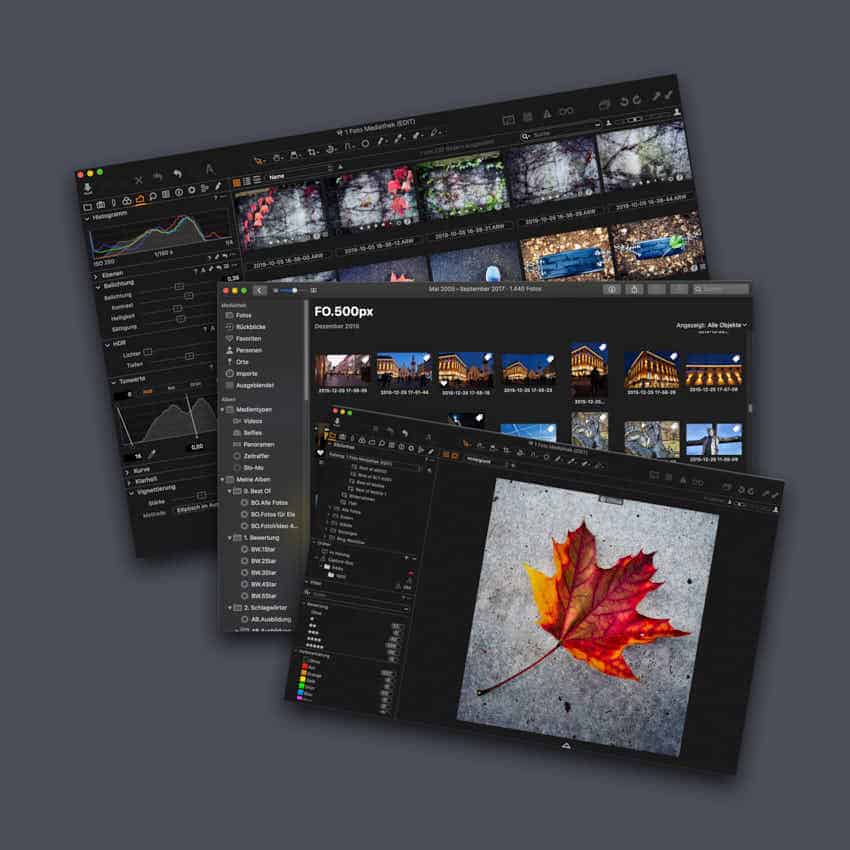
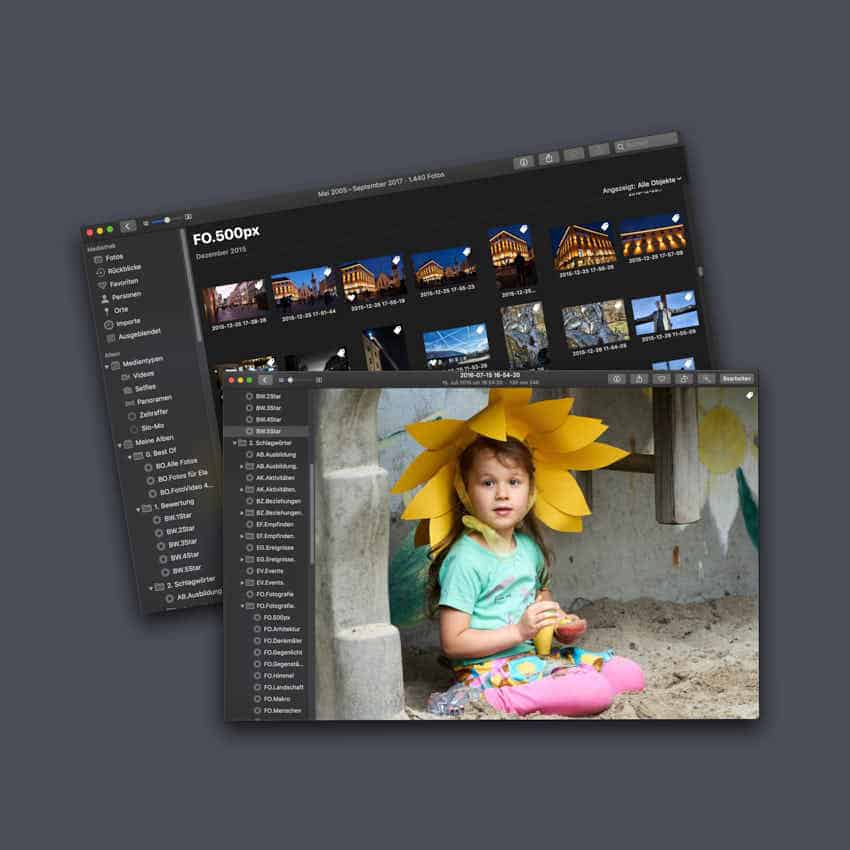
22. Tag your images for better finding
You can add personal texts to your images, which you can then also search for.
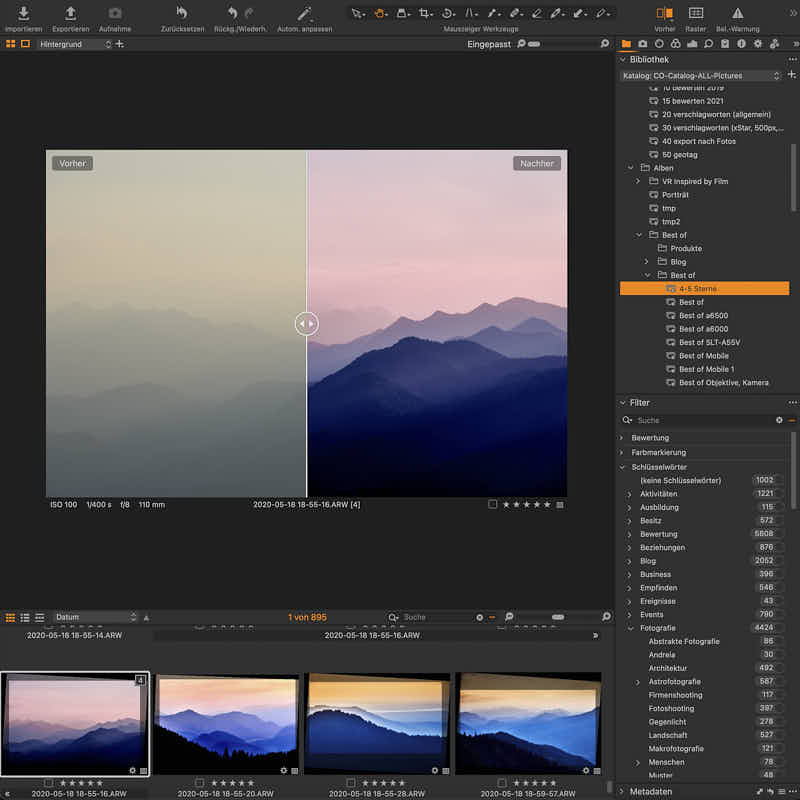
Capture One or Adobe Lightroom support these functions by allowing you to create your own catalog and always have access to it. You should think about how to divide this catalog into categories in a meaningful way.
One of the features of Capture One is to create a structure in addition to a one-level flat catalog list. This is especially useful when you use many keywords since this structure supports the simultaneous assignment of multiple keywords.
You can also use this structure as a filter structure for your photos. Typically, the keywording is started relatively simple, but becomes more complex over time to optimize its data management.
Find more photo software recommendations here!
23. Virtual copies are cool
Having said that, I really can’t imagine image management without the possibility of virtual copies.
With virtual copies, you can duplicate images and manage them as individual images without physically creating duplicates.
This means that you can create a virtual copy of an image, edit it individually, rate it or tag it, but you actually only have one image on your hard disk.
Luminar for example is a software that does not support this functionality. That’s why it is promoted by the developers of Skylum rather as a complementary software to other image management programs.
Capture One and Adobe Lightroom, on the other hand, do this very well. Virtual copies are treated like normal images and can even be displayed in different albums, smart albums, or filters.
24. A high-performance computer rocks
Photo editing is becoming more and more performant and requires more and more resources, especially for large libraries. Moreover, photographers also want to edit high-resolution video too.
A high-performance computer is required for such requirements. However, this is not necessary right at the beginning, in fact, only after a specific amount of work. It should also be obvious that photography will actually be a medium- or long-term activity.
As I mentioned before, I’m a big fan of Apple devices and have had a 2016 MacBook Pro notebook as my only device for a long time.
This notebook was able to cover my requirements for a long time, as well as being mobile. Of course, I could always get to the limit, or had to wait longer, but it worked.
I switched to iMac in the meantime and even enjoy the restriction to edit my photos everywhere. I do it much more consciously nowadays and really enjoy the big great screen and the good performance.
Image Editing
25. A good software for image editing costs money
Anyone who claims that you can manage in the long run with free image editing software doesn’t know very well about the paid tools.
There is very good freeware also in photography, but most of them have some limitations. Darkroom, Gimp are just two examples that also work with Linux. These are almost glorified, especially in these communities.
However, I have made the experience that a good image editing software may cost a little money. Because only with it I get the expected performance and result.
But it is important to evaluate this expense for yourself: is it a cost or an investment? Will the software help me to save time or improve my photos or not?
Capture One covers two important requirements for me personally: I can edit images very quickly and very professionally.
Find more photo software recommendations here!
26. Create an edit workflow for your photo processing
A workflow, or sequence, generally helps when you need to effectively process recurring tasks.
One of these tasks is image editing, and even if it may seem that it is a creative process that does not require a workflow, image editing involves several subtasks that can be performed routinely according to the same pattern.
This includes the import, the pre-RAW development, the keywording and rating. I have optimized these steps according to a certain scheme and adjust them again and again in order to reduce the maximum amount of time and effort.
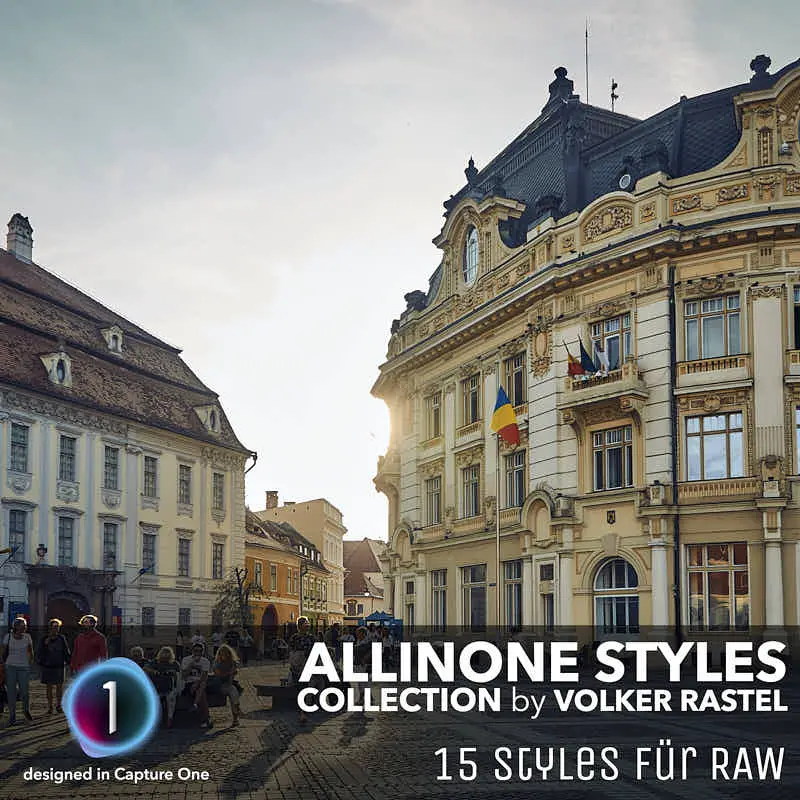
I have grouped my processing steps into an AllInOne Style Collection by doing a “bulk pre-RAW development” on all imported images to score the best images.
Furthermore, this package includes a number of styles and settings that “semi” automate colors, sharpness, highs and lows of the HRD functions or the cropping.
27. Use styles and presets to speed up image processing
For a long time, I didn’t use styles because I always thought that every image is unique and needs to be edited individually. That is mostly true. But if you take a lot of photos and have to edit them individually, you’ ‘ll sooner or later run out of time.
At that point, a few years ago, I started to optimize my workflow: the import, the RAW development, the editing, the export, … While doing this, I also came across Styles and their various capabilities in image processing.
I found that Styes and Presets can also be used for “general RAW development”, for settings and even for cropping.
This means that you can develop Styles (in Capture One) or Presets (in Lightroom) over time such that they work for the broad mass of photos.
Most of the time I can do it in one or a few steps now: RAW development, colors, exposure/white balance, image cropping, all with one style package!
Over time I have optimized this package and added “color” and “setup” styles so that I can adjust contrast, sharpness, cropping, etc. with a few clicks.
You can find my AllInOne Style Collection here!
28. Use controls like Clarity, Highlights and Shadows carefully.
If you don’t know the RAW file yet, you should definitely have a look and try it out. A RAW image can be processed much better than a JPG. Here I explain that in detail and why you should use it.
The cool thing about RAW images is that you can get much more detail out of the highs and lows. Especially in the beginning it works like a miracle and often tempts you to “over-process”.
In particular, the Treble and Bass sliders are used too much in the beginning, so the images don’t look natural anymore. This is OK for testing and playing, but if you want to publish your photos, you should be careful with these sliders.
This makes your photos look too flat and lacking in contrast. Photos often need a depth effect so that they look pleasant. And here are contrasts important even if some details are lost.
A similar problem occurs with the Clarity slider. Too much of it makes the photo unnatural. I have often used this slider somewhat exaggeratedly in cloud images. It enhances and emphasizes cloud structures that no longer correspond to reality.
I must say that I myself try to move away from extreme settings, since they are somehow fun.
You can find my AllInOne Style Collection here!
Photo Montages
29. Photo montages have become very easy to create
When I think back to the time just a few years ago when a sky had to be manually replaced in Photoshop or Affinity Photo, at least for me it’s not a happy memory.
This was a complicated work, especially when the borders to the sky contained a lot of details and structures.
Thankfully, this is possible today even with the click of a button. The most famous software is Luminar AI, an image editor that is now completely based on artificial intelligence.
There are numerous settings in Luminar that allow you to finely control the replacement of a sky, but it usually works so well that it often works with just one click.
Also, with Luminar you can overlay objects like stars, rain, birds, lightning, and others simply by pressing a button. The nice thing is that Luminar takes structures like clouds into account and you can even fine-tune that.
You can find my detailed article about Luminar AI here!
30. Photo montages increase creativity in image composition

Photomontages are still very despised. Of course, the whole ” photoshoping ” of the images has also contributed to this, some of them are very extreme and not beautiful.
But there are many photomontages that are really good and very creative. Of course, you should be able to see that when a picture is completely mounted.
Creating good photomontages is a very creative activity and there are no limits to its fantasy. With photomontages, you train your artistic side which you need in photography.
Above all, you will train your imagination for a picture composition which, as we have already learned, is a very important component in photography.
Visualizing a finished image can inspire you while you’re still shooting and help you take better photos.
You can also make photo montages just for yourself, you don’t have to publish them if you don’t want to or if they don’t fit your profile.
You can find my Golden Hour Sky Pack here!
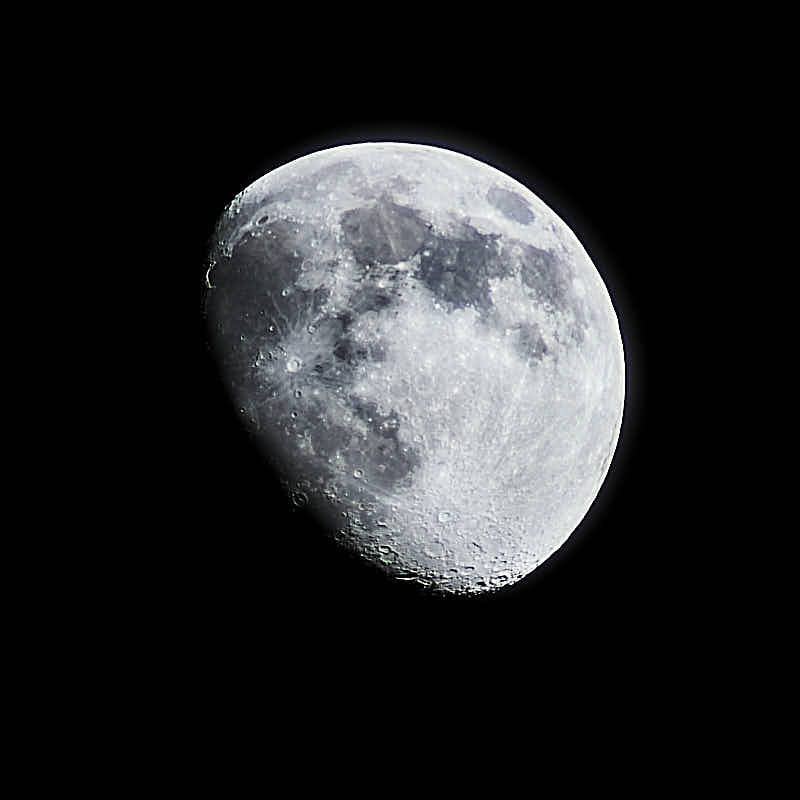
31. Replace sky or add moon
Replacing the sky is also often perceived negatively. The photo is more real, as it was original … The photo is fake, …
But is that true?
Basically yes, but every scene in the open air changes daily, even hourly. There are potentially many real images (if you could take them all) of a scene, but you usually only capture one or a few.
Theoretically, you could imagine how a subject might look in a natural environment in the different moments. These ideas are fictional images that for me are equal to processed or montage images.
Therefore, for me, the replacement of the sky is just an idea of how the composition might look in a particular situation, for real!
You can find my Night Sky Pack here!
32. Fantasy images can also be very beautiful
Image manipulation is really a question of taste. Many people truly can’t deal with it. I understand that, because for such images you have to be truly open.
I love science fiction movies, for example, because they are so unreal. It takes a lot of imagination to make a good sci-fi movie, especially the story.
I also love sci-fi novels because they catapult you into another world. Maybe that’s why I find fictional pictures incredibly exciting.
They give a fantasy idea that has no limits. With such images, you can incorporate anything you like.
One of my favorite Instagram profiles for fantasy photos is:
Presentation and Publication
33. Photos for macOS is the perfect presentation software
When it comes to digital presentations of photos and videos then Photos for macOS are unbeatable. It is very fast, looks good, is easy to use, and has very good automatic slideshow features.
But this requires a Mac because this software only works on a macOS operating system.
A good alternative is the iPad and Photos for iOS. This works very similarly but differs slightly in data storage.
On a Mac, you can keep your pictures and videos, even the library, on an external hard drive. On iOS, you have to store the photos either in the cloud or on the device.
34. A 4k TV or even a projector is great for at home
At home, I use a 4K TV and a 4K projector that projects my pictures, videos, movies and games on a large surface of about 3m wide.
It’s really fun and has become affordable. I use the Epson EH-TW7000 and a 7.1 sound system.
My Mac is connected to the TV and projector via a long HDMI cable and a 4k splitter, and I can play practically anything on the screen.
As already mentioned, a projector can also be used for movies, Netflix or game consoles, which is then really fun.
35. Limit to one two or three publishing platforms
There are many platforms where you can publish your photos. And each platform has its own features and audience.
But when it comes to images, there are some dedicated specifically to this format. Flickr was one of the first to be dedicated specifically to photos. 500px was added as an alternative and was more aimed at professional photographers.
EyeEM, Pinterest, and Facebook are also suitable for photos, but one platform has really caught on in recent years: Instagram
It’s not easy to decide on 2-3 social media platforms because they all have their appeal. But if you try to use them all, it will cost you a lot of time that you should rather spend on photography.
My recommendation: Instagram and 500px!
36. Create your own website to present your photos
The most beautiful and safest way to present your photos is to have your own website. A website is relatively easy to create.
I recommend two options here:
- your own website with WordPress
- a completely hosted site by a provider
The first option is inexpensive, but requires a relatively high level of personal effort to set up and maintain it. You need to find a host provider for your domain and site. A simple and cheap option is Bluehost.
Here you need to install WordPress (it’s just one click ), find and install a WordPress theme and then create pages with images.
With the second option, you can set up your own site within minutes and create a very nice website from pre-made designs.
Squarespace is my recommendation here, but costs much more compared to WordPress.