There are three pillars of photography that any serious photographer should know about and those are aperture, shutter speed, and ISO.
The best way to understand ISO is to think of it as artificial lighting that your camera adds to the image you are capturing. The less light you have come from natural lighting or studio lighting, the higher ISO you will want to use to make up for that.
With that being said, there is a lot more to understand about ISO itself and how ISO works with the other pillars of photography. Let’s break it all down.
How to use ISO efficiently.
Every camera will have a different range of ISO values that you can use.
- ISO 100
- ISO 200
- ISO 400
- ISO 800
The list goes on.
The higher the value you are using for your ISO, the more you are going to see artificial light pumped into your image, usually to make up for a lack of outside lighting.
This means that ISO can be good for helping you capture pictures in low-light situations.
You can think of the ISO values literally as the “level of brightness” of the image that you are getting, in which case, when you double your ISO speed, you are doubling the brightness of the photo.
Be sure to understand your base ISO.
Your base ISO is going to be the lowest ISO speed that your camera allows you to use, and this is important to know.
Your base ISO is always going to give you the clearest picture with the least amount of noise, so you will want to use it as often as possible.
The problem with ISO is that as you raise the value of the ISO your image will start to look more grainy or it will have more noise.
This is why it is still important to focus on lighting during photography or videography rather than trying to use the camera to make everything work.
While ISO can help you capture those low-light photos that you want to get, they will come out much clearer and higher quality if you can manage to take them with a lower ISO.
When should you use a high ISO?
When you start to understand how ISO works and what your base ISO is on your camera, it can be easy to feel like you should aim to use your base ISO all the time but that is not the case.
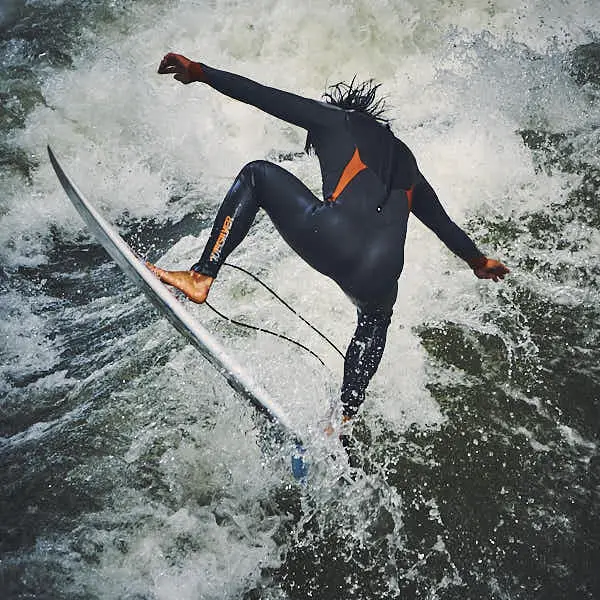
A good example of when not to use your lowest ISO is when you are trying to capture anything that is moving and moving fast.
That could be trying to capture athletes during a sport, or animals out in the wild, like a bird. In these cases, your ISO (as well as your aperture and shutter speed) will help you fight against motion blur.
Motion blur is an excellent example of why base ISO might just not be the best choice in some instances. A higher ISO will always create more noise, but in this case, you will be faced with a choice between a blurry image with a low ISO, or a sharper image with a high(er) ISO.
That’s when it will make more sense to boost up your ISO.
What to consider when determining your ISO for an image.
1.) How is my lighting?
The main question at play is lighting.
If you are shooting a still subject that is well-lit, then you will almost always want to capture that photo with your base ISO.
If you are shooting a subject in a scene that is not well-lit, that is when you will want to sacrifice some of the image’s sharpness for the artificial light that ISO provides.
2.) How much noise am I willing to have in the photo?

That leads to the second consideration which is a question of noise or grain. If you want your photo to have no noise then yes, you will want to keep your ISO as low as possible.
If it is okay to have a little grain on your photo then there is no reason to be afraid to turn up that ISO value.
There are plenty of cases where it is more than worth it to sacrifice a little clarity for some lighting so that you can actually see the image.
3.) Am I using a Tripod?
Motion and motion blur play a big role when it comes to deciding all three pillars that you are focused on with photography.
If you do not have a tripod, that can be another reason to raise up your ISO.
Again, the easiest way to think about these settings is that they are ways for your camera to help you take the photos.
The base settings will create the highest quality image in perfect settings, but how often are we actually in the perfect setting?
4.) Is the subject moving?
The last question is addressing the inverse of the third question. Whether or not you are using a tripod will affect the motion blur that comes from the camera moving. ISO can also help you if the subject is moving.
Conclusion
If nothing else comes from this article, just remember that your camera’s ISO is essentially artificial light that it adds to your images since we cannot always find ourselves with the perfect lighting for every situation.
While the rule of thumb is to keep your ISO as close to the base as possible, there are certain situations and factors that will make you want to crank it up a little bit.
All of these settings are built into the camera so they can help you. If all they did ruin images, then they wouldn’t be in the camera at all.