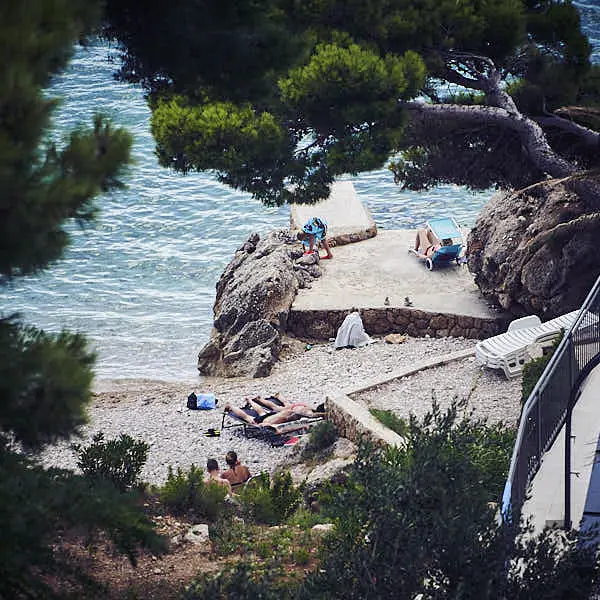
Nothing’s quite as disappointing about bringing your camera on vacation, hoping to get great beach vacation photos, and then getting home to discover that they didn’t come out anywhere near as well as you hoped they would.
Luckily though, mastering beach photos is a whole lot easier than most people think – especially when you zero in on the tips and tactics we breakdown below.
Truth be told, the beach is a perfect place to learn some of the most important fundamentals of photography.
Backgrounds are (generally) pretty simple, the lighting is good but also teaches you to master reflections, and there are plenty of opportunities for interesting compositions and framing options, too.
Practice beach vacation photos and you’ll be blown away at how often those skills transition to the rest of your photography, too!
Lean Into Longer Golden Hours at the Beach
Right out of the gate is important understand that you’re going to be shooting in different lighting conditions at the beach than you are probably used to.
Because beaches are so wide open and because the water is so reflective it is going to feel like the day lasts a lot longer – especially during the “golden hours” in the morning and evening.
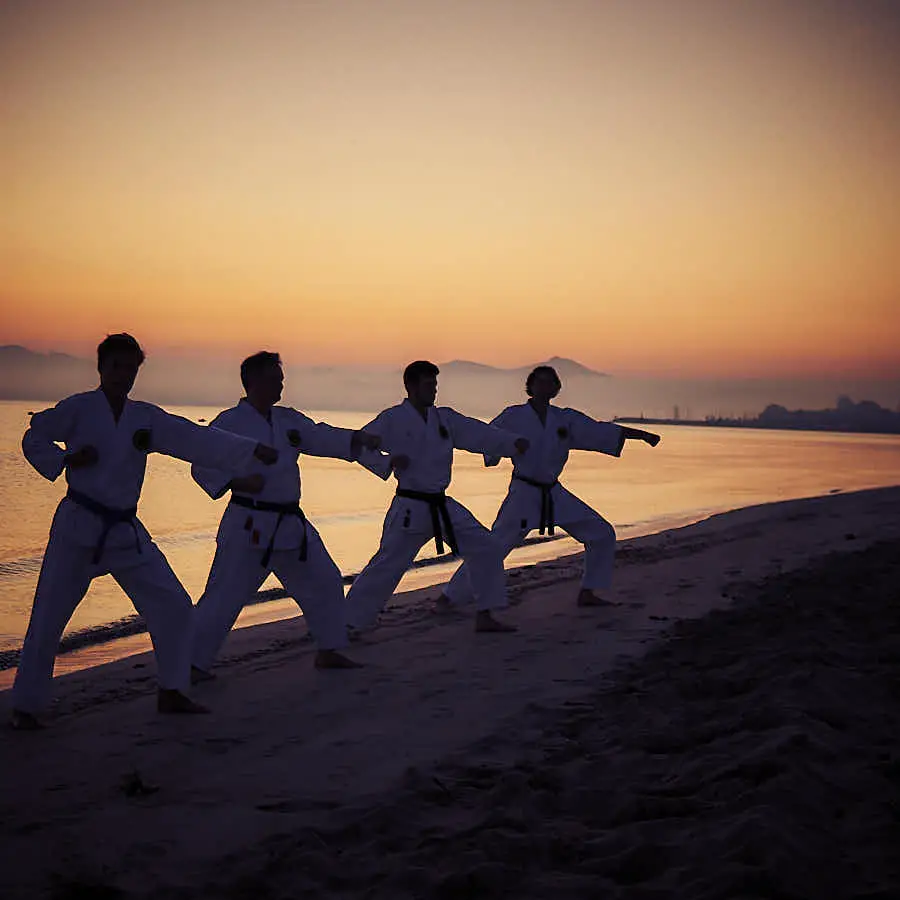
That’s great news for photographers that want to capture great beach vacation photos, mostly because it extends the amount of time you have to work in these windows.
Be sure that you show up ahead of these golden hours to capitalize on the extra time. You don’t want them to waste!
Master Reflective Lighting Coming Off the Water
On the flip side of things, though, the reflectivity of the water at the beach is going to put some serious technical challenges in your way of capturing amazing beach photos.
It doesn’t take a lot of light from the sun reflecting off the water to make your photos really harsh, drowning your subject in a lot of direct/reflected sunlight that can wash them out completely – all of which makes your beach photos look a little clinical and a little uninspiring.

You want to play around with how you pose your subjects, how you frame your work, and how you compose each of your shots to master the reflective lighting bouncing off of the water.
It’s always there – always there – it is going to force you to become a more technically proficient photographer along the way. It’s important understand and recognize that reality and embrace it for the opportunity that it provides!
Not All Beach Photos Need to Be on the Beach
Coming up with more creative locations for your beach vacation photos than standing knee-deep in the water is a big piece of the puzzle when it comes to creating photos that have a more lasting impact and more visual interest.
Just because you’re looking to take beach photos doesn’t necessarily mean every one of them has to have surf and sand included in the frame!
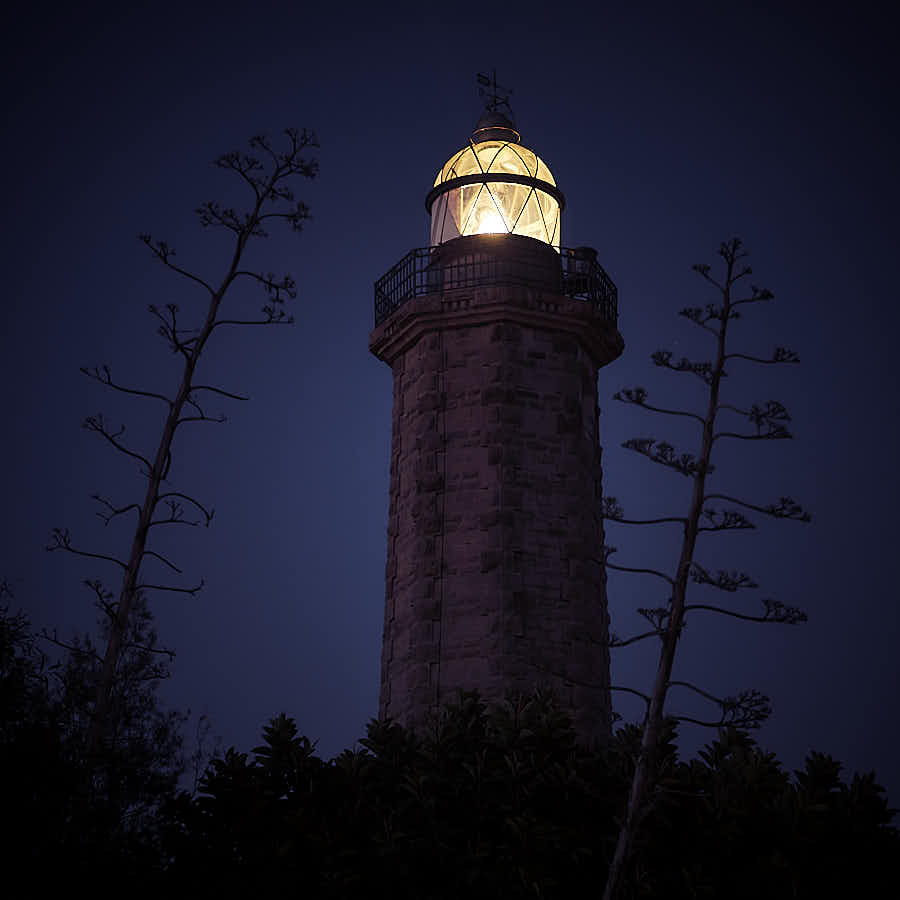
No, instead you might choose to shoot the pathway walking down to the beach, a lighthouse near the beach, about the rocks or the sand dunes, down by the peers, surrounded by colorful beach houses, over by the lifeguard stand – something that obviously indicates to the viewer that you’re at the beach without having to beat them over the head with this location.
There’s only so many surf and sand beach photos people can sit through before it starts to get a little dull and a little repetitive.
Don’t Forget Your Lens Hood!
If you are going to be using a DSLR to shoot your beach vacation photos is a good idea to make sure that you bring along your lens hood.
Your lens hood is going to let you shoot backlit images using the sun, creating some really visually striking images that would have been next to impossible to pull off otherwise.
A lens hood eliminates a lot of the haze caused by backlit subjects that can get drowned out and washed away without eliminating all of that “golden blur” at the same time. You’re able to better modulate the amount of sun your letting impact your photos, retaining key details while softening things at the same.
Bracket Your Beach Shots for Better Results
Bracketing your images – finding a way to compose your shots so that you get a little bit of sun, little bit of sand, and just the right amount of water while following the “rule of thirds” – takes your beach vacation photos to the next level automatically.
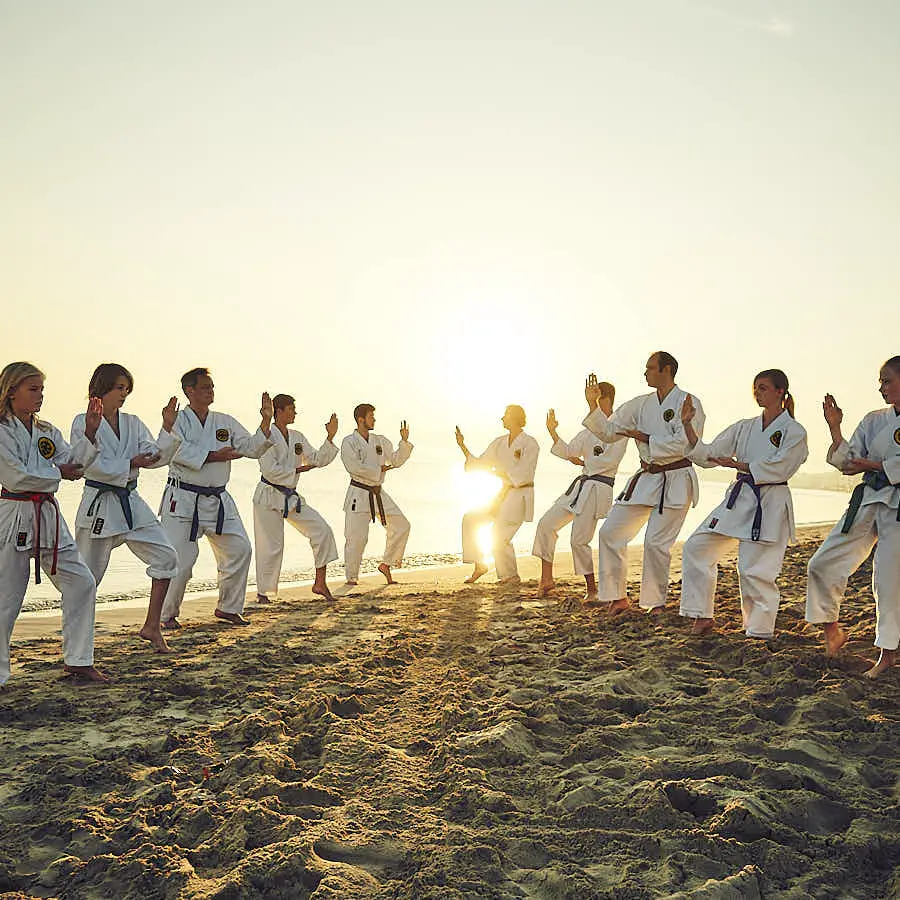
One of the easiest ways to bracket your shots is to simply manually expose for different kinds of highlight in different kinds of shadows, thinking about the composition of your shot at the same time.
This is a little bit of a more advanced beach vacation photo trick to implement, but it’s really not hard to master – especially if you are willing to play around with your photos in the postprocessing phase, too.
If You’re Going to Meter Your Shots, Spot Meter
Photographers that are going to try and meter their beach vacation photos will want to make sure that they are “spot metering” – exposing for the skin of their subject instead of pulling a matrix of different elements off of the sand and reflective water that can throw things out of whack in a hurry.
Pick a consistent spot (like the skin of someone that you are taking a picture of on the beach), run spot metering on your camera, and then allow that to dictate your exposure for the rest of that shoot.
Less Than Perfect Beach Weather Makes for Great Photo Conditions
And lots of people think that their beach photos had to be taken during the best beach weather possible – sunny, hot (but not excessively so), next to no wind and next to no humidity and a gentle ocean that’s just sort of lapping about.
Nothing could be further from the truth!
In fact, a lot of those beach photos end up looking kind of dull and kind of boring – mostly because they are the same kind of beach photos you likely seen a million times before.
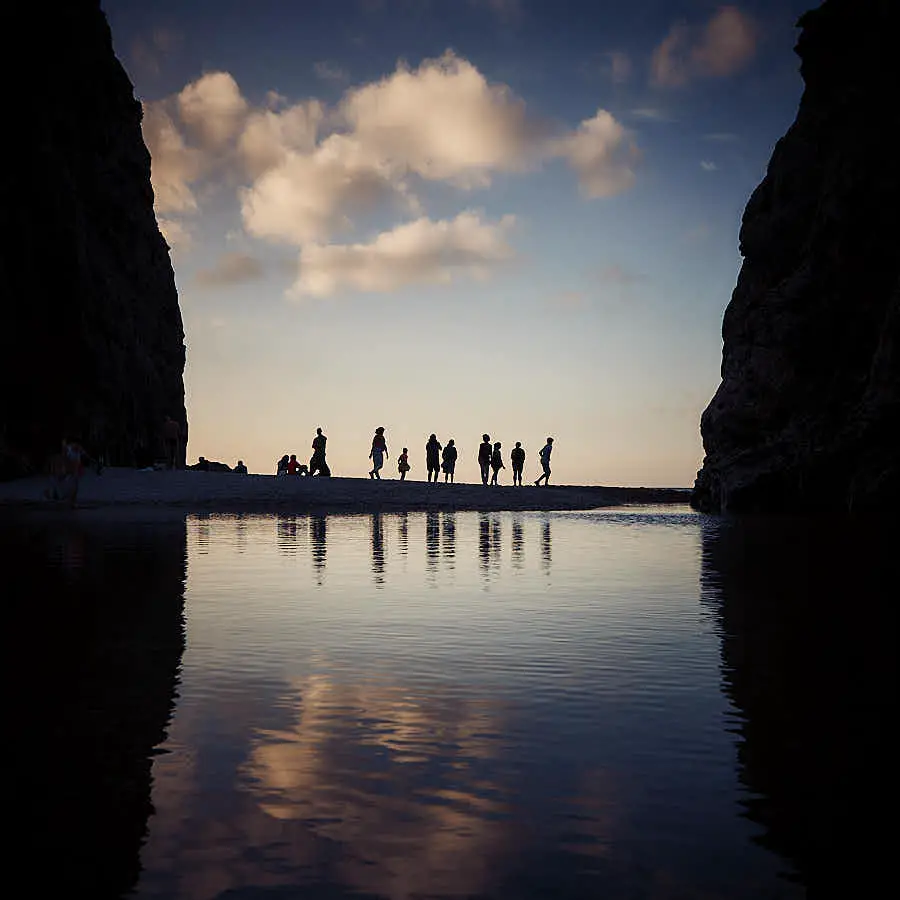
Instead, you might want to save your beach photo shoot day for a time when the forecast isn’t all that ideal for sunbathing and swimming.
Gently overcast, a little cold, and with some wind and some weather can totally change the atmosphere of the beach completely into something a whole lot more usually interesting. Those kinds of vacation photos from the beach are always more exciting to take than another “perfect day in paradise” snapshot.
Stabilize Your Horizons
If there’s only one thing that you do from this quick guide to boost the quality of your beach vacation photos hopefully it’s this – that you stabilize your horizon each and every one of your shots no matter what!
When your horizon isn’t stabilized (it’s a little bit off-center or little bit tilted) is going to give all of your photos a very disjointed, tilted, and almost uncomfortable kind of feeling.
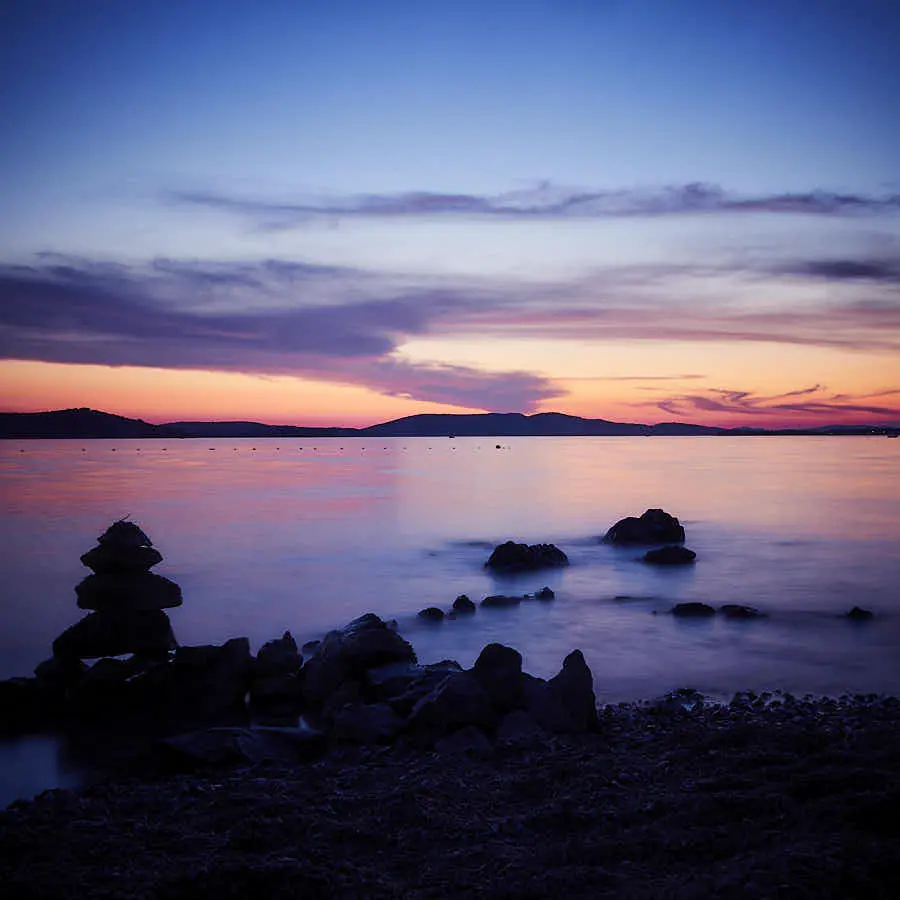
Sometimes it’s really obvious and overt, but sometimes it’s really subtle and almost imperceptible – but you know if there and you know something feels “off”.
If you’re going to take better beach vacation photos is a good idea to make sure that when a horizon is going to be part of your pictures it is running horizontally in the background and as level as humanly possible.
Tip and tilt to come up with more creative pictures for sure, but recognize that photos of the beach with such barren backgrounds and tilted horizons almost always feel a bit odd or a bit off no matter how fantastic the rest of the image is.

