With a smartphone in nearly every pocket, photography has seen a jump in popularity. Social media platforms like Instagram, Pinterest, and Facebook have opened up space for independent photographers to share their work, with a wide audience for nature-based photography.
When photographing nature, you can use living creatures, plants, the sky, and even rock formations as your subjects. There are many ways to make nature photography more interesting like using different lenses, photographing at different times during the day, and taking suggestions.
Photography is an incredibly rewarding art form, and taking pictures of the outdoors is a great way to spend that time, whether you’re a seasoned professional, or just snapping pictures with your phone. Here are some tips and tricks to get you started!
Nature Photography: Starting Out
Before we get into the details and different techniques of photographing nature, it is essential to know the very basics of taking photos of nature. These basics will help you take beautiful pictures in many different situations with all sorts of subjects, lighting, and locations.
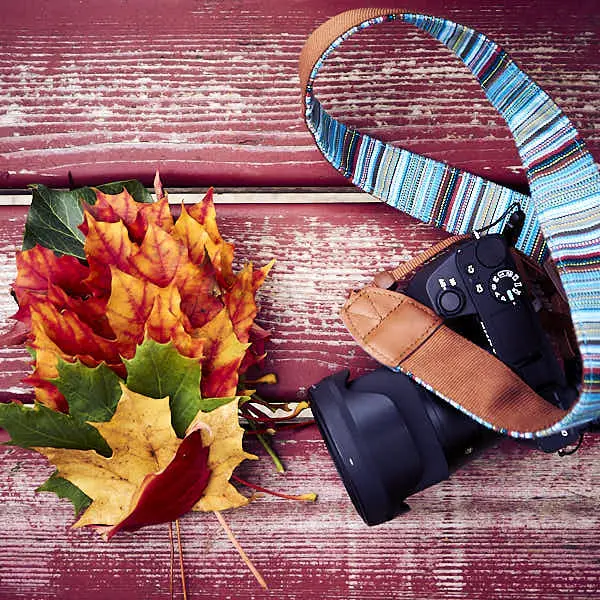
Gear Up
Before you head out on your photography trip, take some time to make sure you have the gear you’ll need. Generally, some of the best pieces of camera gear to bring are a wide angle lens, a good zoom lens, a tripod, extra batteries, and extra memory cards.
A quality wide angle lens will be one of your most frequently used items when taking photos of landscapes. Your wide angle lens will help you capture a more expansive view of your subject, whether that be rolling hills, or the scenery around a herd of elk. A wide angle lens will help you achieve that no problem.
A zoom lens comes in handy when taking pictures of wildlife. When it comes to animals who might get skittish if they smell you, or see you getting too close, your zoom lens will provide you with the opportunity to capture a seemingly close and intimate shot without your subject getting spooked by your presence.
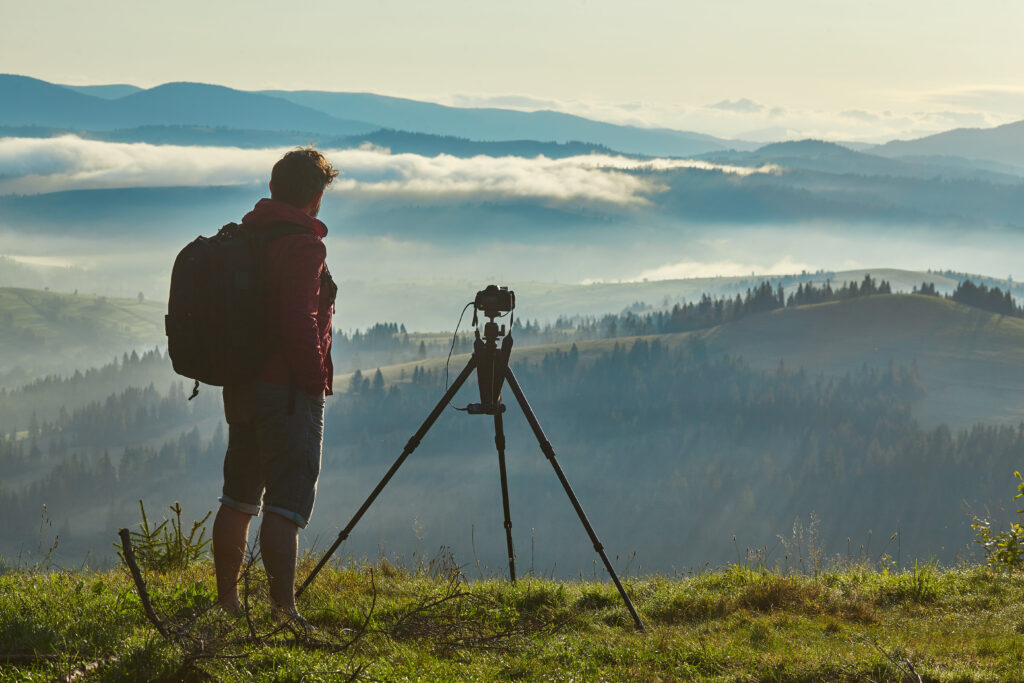
A tripod is essential when it comes to taking photos of nature. This piece of equipment is relatively inexpensive to add to your gear. You should make sure that it is heavy enough to withstand some wind, but light enough that it is not a burden to carry.
Finally, extra batteries and memory cards are lifesavers. Opportunity strikes at the most random of times, so being prepared with backup battery life and memory for your camera may be just the thing that gets you your dream shot.
Catch the Viewer’s Attention
Before you begin taking pictures, keep in mind that you want to catch a viewer’s attention. One of the most enticing kinds of photos to viewers are ones that show familiar objects or places in a different way. This can be a great way to take an image that is featured in a local paper or magazine because the readers will recognize the places photographed. The goal is to use the familiarity of nature or a specific area to catch the viewer’s attention and keep them interested in your unique image.
Subject Matter
Now that you are prepared with your equipment, we will cover a bunch of different ideas for taking photographs of nature that will help elevate your portfolio or just add to your personal collection. The very first category of ideas focuses on subject matter. As long as you know how to find a good subject for your photo, you will start off in a very good place.
Plants
Since they don’t move on their own, and are unlikely to be disturbed unless you’re taking pictures while it’s windy, plants can great photo material for beginners. With so many different kinds in every type of climate, photographing plants can present you with a plethora of options. There are trees, bushes, flowers, and even fungi that you can capture with a photograph, each with their own kind of beauty.
You can try to capture textures with a magnifying lens. Viewers love to see familiar objects from a different perspective, and focusing on the textures of a plant is a great way to do that. You can try photographing plants in different lighting. Flower petals and leaves play with sunlight in a beautiful way which can make for a great photo.
Another tip? Try framing your subject. While this is generally good advice to follow when photographing any subject, it is often forgotten when taking pictures of nature because the photographer is so focused on capturing the subject. Use a contrasting background or different shaped plants to frame the subject and make it pop.
Wildlife
If you’re ready for more of a challenge, try moving on to wildlife. This is immediately more difficult than taking photos of plants, because wildlife does not like to stay still. However, the term “wildlife” is widely inclusive and has a lot of different options, just like plants do. This can include tiny insects, large animals like deer and elk, or even animals that live in water, like fish, frogs, and turtles.
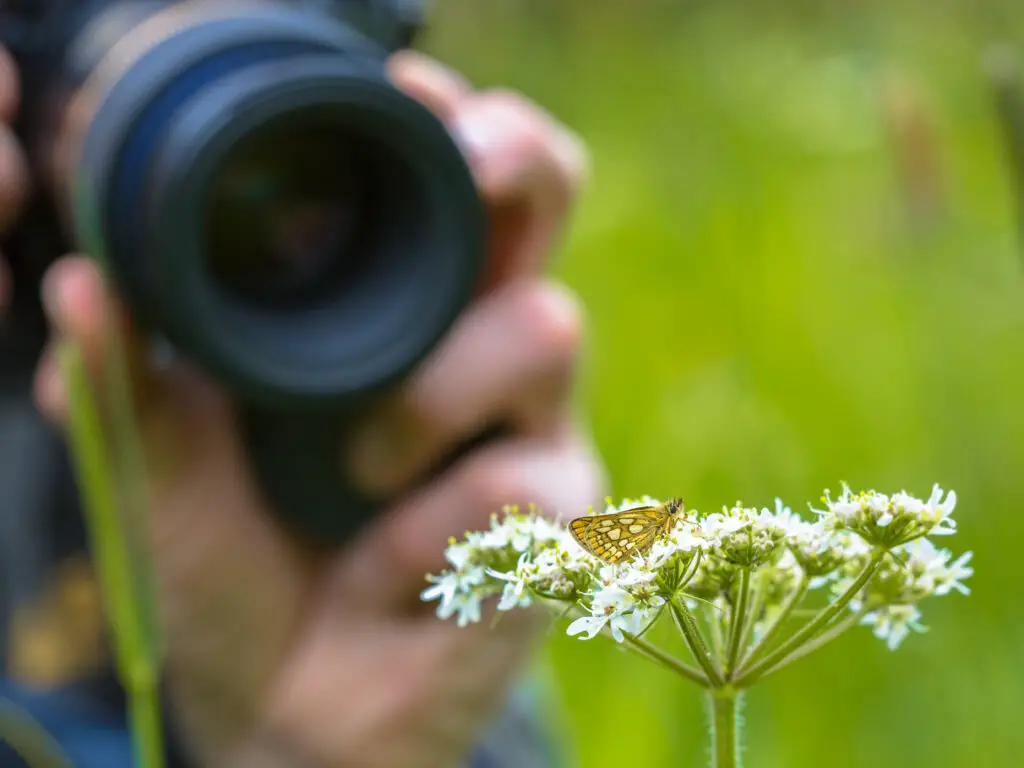
Insect and bugs can be difficult to capture because they will quickly dart away if you get too close, and they are often quite small. The problem with this is that you usually need your subject to stay put to get the photo you want. If you can master taking beautiful, up close photos of bugs and other small critters, you will gain a lot of skills that can be applied to larger, more elusive subjects.
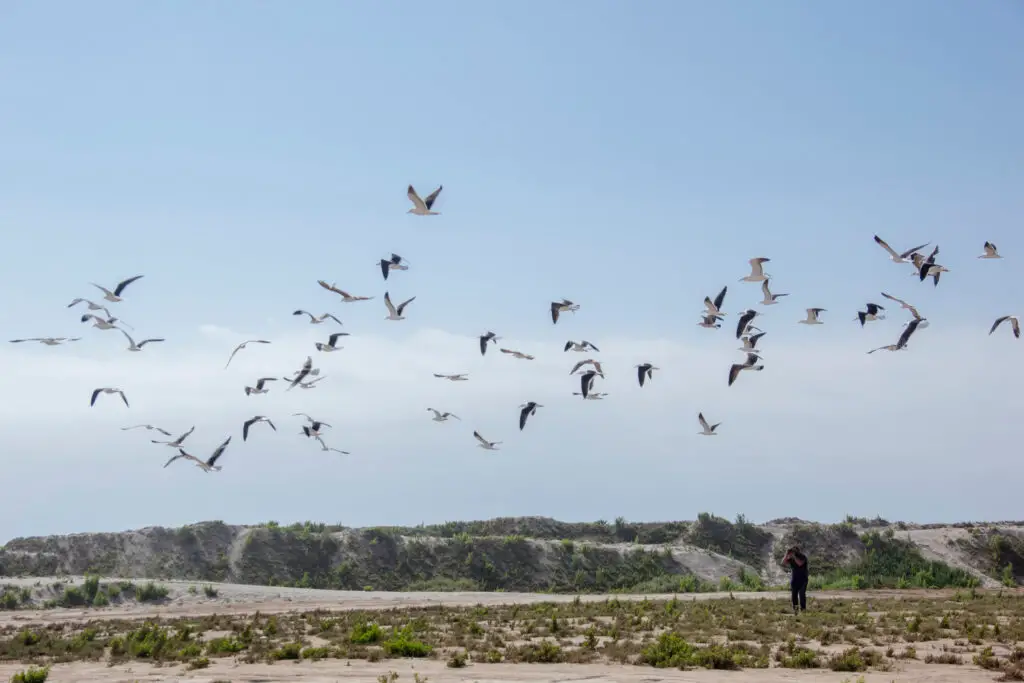
Bigger animals also make great live subjects, and those photos are admired by many. Capturing something large or exotic like a bear, deer, tiger, or wolf will wow anyone who sees your photo because they are not very common animals and they are difficult to photograph safely. Colorful birds, birds of prey, and baby animals are quite popular as well.
Finally, you can turn your lens to the water and capture wildlife that resides there. With a decent zoom lens, frogs and lizards are easy to photograph without having to get yourself wet, as they often sit on rocks at the waterline. You can also capture fish from above the water and under it. If a pond or stream is relatively smooth, pictures of wildlife from above the water’s surface will look very dynamic. If you have an underwater camera, photos from the fish’s point of view will captivate viewers.
Above and Below
The final subject matter is much less obvious, but it can make for very interesting photos. People want to see photos that they feel like they haven’t seen before, and the best way to do that is to take your photos with extreme angles in mind. The subjects for these images are typically the sky and the earth. (Source)
When taking pictures of the sky, you will really have to balance lighting and aperture settings on your camera to get the best result possible. Clouds can make for striking changes in lighting, while create depth and interest . Photographing the night sky and the stars in it can make for an absolutely stunning result and it is relatively easy.
While the sky is a great subject for nature photography, so is the earth below our feet. Rock formations are a great example of looking down to take pictures. Sometimes these are huge, natural arches that are easy to find and sometimes they are small textures or groupings of rocks that are interesting. Another subject from below to photograph are leaves that have fallen from trees, or even rivers and streams.
New Techniques
While taking photos of different subjects is a great way to spice up your nature photography, you can also employ various, new techniques that can change up the way you work, and can really take your photography to the next level. Some of these techniques are: using different lenses, playing with lighting, and using time lapses.
Change your Lens
The very first, and one of the easiest, techniques to implement in your nature photography is changing out your lens to capture a subject in a different way. We have already touched on this a little bit, but it will benefit your work more than you think. Some common but different lenses to use are wide angle lenses, zoom lenses, and telephoto lenses.
Wide angle lenses are great for creating and demonstrating a sense of scale. This can be showing how big or small the subject is, depending on how you use it. When you use a wide angle lens to photograph a wide landscape, it will make the landscape seem huge while the subject’s proportion to the land is shown as pretty small. Using a wide angle lens close up will help present a subject in a more whimsical way that makes a small flower’s or a little bee’s world seem much bigger. (Source)
The next type of lens to play with is a zoom lens. This lens is great at focusing on little details of plants, rocks, or wildlife. Zoom lenses make the little details of the subject seem so much bigger than they normally appear and it interests the viewer my making them think in a different way. Zoom lenses are also great at photographing subjects, usually animals, from far away. This helps reduce the chance that the animal will run or fly away before you get close enough to take the photo.
The final type of lens is the telephoto lens. A telephoto lens can help you create focus on a specific subject, taking the attention of the viewer and helping them focus on a specific area. This narrow field of vision can be used in a variety of different ways, and in a variety of circumstances as an art style, or as a practical “live editing” effect to help you blur out less important elements in the photo you’re taking.
Play with Lighting
Using lighting to your advantage may be the best way for you to get striking, dynamic photos of wildlife, whether they be pictures of landscape or wildlife. Lighting can make or break any kind of photo, and that includes photos of nature. This can mean using the natural lighting of the day, creating ideal lighting, or using interesting lighting effects.
When taking photos of nature, you are usually beholden to the natural lighting on that given day. Because of this, it is important to know how to use that lighting to your advantage. If it is a cloudy day, you will know that your photos will have cool, grey tones to them. You can use golden hour when the sun is setting or rising to get the best lighting for photos and to give them warm tones. If it is very bright out, find shady places like forests and use the filtered, green light to create visual interest.
If you want a specific type of lighting for your image, you can create the ideal lighting by using reflective disks. This is usually best when photographing plants and other still subjects. A gold reflective disk creates warm lighting and can be used to fake golden hour. A silver one will create cooler lighting that is best used if taking pictures in darker areas.
Finally, you can use different lighting effects to make for new and different photos. The patchy light you get through clouds, dappled light that reflects off of water, or the bright light that filters through trees are all great example of naturally occurring light that holds plenty of interest all on its own. Framed the right way, and with the right exposure, the light itself can make a great photo without the need for an animal of unique landscape to justify the picture.
Use Time Lapses
Time lapses can be used to create interesting photos. Set up your camera and use a time lapse to capture a bunch of photos of a subject with progression. This can be a flower blooming, clouds rolling, or even a lightning storm. A clear night sky can create a stunning visual that allows you to perceive movement in the sky that you can’t track with the naked eye. Similarly, long exposure photos of the sky, rain, or streams can hold quite a bit of visual interest to the people who view your art.
Hello. Thank you for your good explanation and training. I am from Iran and my camera is Olympus E500. Of course, my camera is a bit old and its new model is expensive in Iran, which I can not buy. Good luck ??